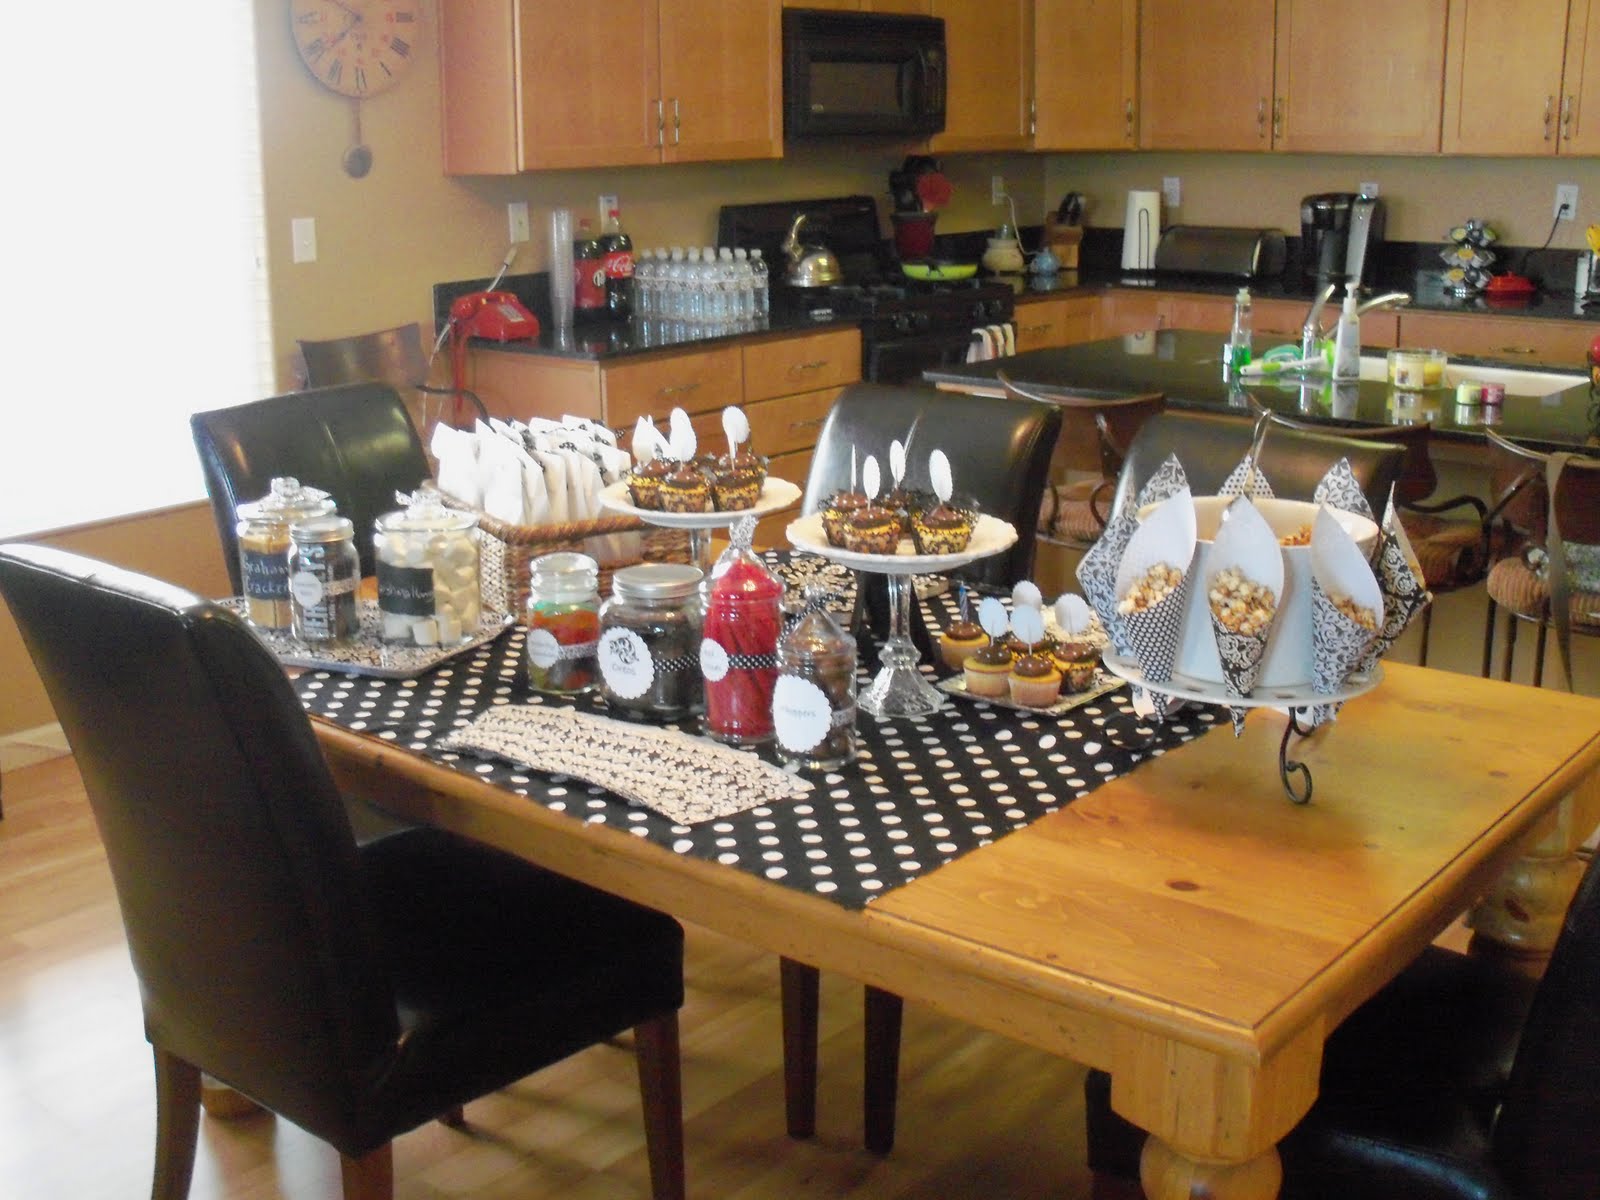
Yesterday I had the pleasure of setting up a dessert table for a special 17 year old! My friend's daughter (and MY girls swimming teacher) had a birthday yesterday and I set up while she and her friends were at dinner. The only thing she asked for was cake pops, and the rest of it was pure surprise, even the color scheme.

I bought this fabric after tracking it down online. It's Amy Butler fabric that Beverly's had on an apron display but had long since sold out of. I searched and searched and finally found it on fabric.com. I bought it awhile ago and couldn't wait to use it. So I knew exactly what to suggest for this party!

I had some remnant pieces of other coordinating fabrics that were aqua and the light orange, so I cut them into strips and made a fabric banner that I pinned to the front of the tablecloth.


The girls were going to stay the night so I thought it would be fun if they had a FULL dessert table to pick off of all night!

I found the perfect aqua colored rock candy at Michael's!

I made matching labels for all of the desserts. It just adds so much cuteness!

I just love using popcorn cones! This time I made White Chocolate M&M Popcorn! I popped Orville R.'s Natural popcorn and then mixed it with Wilton's white melting disks and topped it with aqua m&m's, then spread it out on wax paper to dry. I also drizzled some blue and orange melting disks on top as well.

I used my oreo molds from Spinning Leaf to make perfectly smooth chocolate covered oreos, and drizzled them with orange.

Michael's had their bags of chocolate covered sunflower seeds on clearance so I quickly grabbed the closest matching colors! :) They look cute served in my milk glass dishes.

I made cupcakes and created some toppers on my Silhouette software. She mentioned she liked the peace party I did last month, so I made a mental note. ;)

I used one of my chalkboards, and made my own tissue poms for 99 cents each! I bought the packs of tissue paper and followed the Martha Stewart tutorial online to make them. Looking back at the pictures, I wish I had propped up the chalkboard SOMEHOW to be seen better.

I asked her mom for a picture of Vanessa so I could make this pinwheel decoration. I love how it turned out!

I love this little aqua jar I bought at a thrift store and it was a perfect fit when I added white sand to it!

Here are the cake pops! This was my first time ever making them. They were a lot of steps and quite messy to make. I still haven't finished cleaning my kitchen! lol. I bought this plain white cake pop stand at JoAnns for $5.99 and put it together and added ribbons to the front with double sided tape.

I almost gave up on putting the pops in here because they kept tilting over. Finally I looked under the bottom layer of cardboard on each tier and saw they were scored to poke the stick through both layers! Problem solved!
 I had some remnant pieces of other coordinating fabrics that were aqua and the light orange, so I cut them into strips and made a fabric banner that I pinned to the front of the tablecloth.
 The girls were going to stay the night so I thought it would be fun if they had a FULL dessert table to pick off of all night!
 I found the perfect aqua colored rock candy at Michael's!
 I made matching labels for all of the desserts. It just adds so much cuteness!
 I just love using popcorn cones! This time I made White Chocolate M&M Popcorn! I popped Orville R.'s Natural popcorn and then mixed it with Wilton's white melting disks and topped it with aqua m&m's, then spread it out on wax paper to dry. I also drizzled some blue and orange melting disks on top as well.
 I used my oreo molds from Spinning Leaf to make perfectly smooth chocolate covered oreos, and drizzled them with orange.
 Michael's had their bags of chocolate covered sunflower seeds on clearance so I quickly grabbed the closest matching colors! :) They look cute served in my milk glass dishes.
 I made cupcakes and created some toppers on my Silhouette software. She mentioned she liked the peace party I did last month, so I made a mental note. ;)
 I used one of my chalkboards, and made my own tissue poms for 99 cents each! I bought the packs of tissue paper and followed the Martha Stewart tutorial online to make them. Looking back at the pictures, I wish I had propped up the chalkboard SOMEHOW to be seen better.
 I asked her mom for a picture of Vanessa so I could make this pinwheel decoration. I love how it turned out!
 I love this little aqua jar I bought at a thrift store and it was a perfect fit when I added white sand to it!
 Here are the cake pops! This was my first time ever making them. They were a lot of steps and quite messy to make. I still haven't finished cleaning my kitchen! lol. I bought this plain white cake pop stand at JoAnns for $5.99 and put it together and added ribbons to the front with double sided tape.
 I almost gave up on putting the pops in here because they kept tilting over. Finally I looked under the bottom layer of cardboard on each tier and saw they were scored to poke the stick through both layers! Problem solved!

 I love putting together these group pics with my iphone apps! I had a great time creating all of this for a special girl! My daughters absolutely adore her and get so excited when it's swimming lesson day! :) I'm glad I could offer to do something special for her.

 The fabric tablecloth is from Beverly's. Their fabric is SO expensive, but it's BEAUTIFUL! This fabric is what I built the whole party around!


 It is a slumber party so the girls were gonna need LOTS of snacks. I made these popcorn cones out of pretty scrapbook paper and double sided tape. The stand is actually called "dress me up plate" from Southern Living at Home. I've had it for years, and usually I weave ribbon matching the theme, through the holes. I went rummaging through my cabinets trying to figure out how I was going to hold the cones UP...I came up with this! The bowl is Ikea, I've had it for a couple of years too! It fit perfect! The cones stood up great!