Showing posts with label sewing projects. Show all posts

Wednesday, November 27, 2013

Vintage Fabric Heat/Ice Pack

I have collected a massive amount of beautiful vintage sheets and pillow cases. A couple of years ago I made these "rice ice" packs, as our family calls them. I have a new friend that I wanted to make one for, but take it up a notch by using perfect vintage fabric! These don't get any easier. I am a VERY basic seamstress, and these are a breeze even for me. We keep ours in the freezer at all times so that we have "ice" ready at all times. 
Simply cut two identical pieces of fabric in the size that you want. Pin or hold them, right sides together and sew along three sides. Turn inside out and fill 3/4 of the way full of plain, dried rice. This is great to buy in the bulk section! Turn the open ends in, pin along the edge, and stitch! Ta da!

I found a poem on a message board to go along with the gift, and printed it up on a cute blue mason jar using my Silhouette software. I also made mini versions as tiny hand warmers! I'm going to make some hand warmers for my girls before our Christmas parade on Monday! 

Friday, February 25, 2011

Ruffle Flower Wreath and Frame

UPDATE! I figured out what my wreath was missing! I bought this little bird ornament from Hobby Lobby a couple of weeks ago, but didn't know what I was gonna do with it. I looks perfect in my wreath!
It is really pale plue and cream damask print.
NOW it's perfect!

Last week I got a GREAT deal on this whitewashed frame....it was $2! Have I ever mentioned I love Rescued Treasures? Cause I do!My friend, Crafty Christi {I wonder if my friends like or hate that I give them all crafty names when I talk about them on my blog}, showed me this post over at Little Birdie Secrets. This wreath is different, but loosely based on that. I liked making the ruffle flowers so I did them all the same instead of 3 types.
I used an old sheet {back from when I didn't know that KING IS DIFFERENT THAN CAL KING!} that is too small for our bed. To save myself some ruffle making, I noticed that the gathered edge looks suspiciously like a ruffle.
I cut a few inches deep, around the entire edge of the sheet. Then cut them into sections, depending on how big I needed the flowers.

Here it is...a RARELY found perfectly whitewashed and distressed frame for 8 quarters! I used an exacto blade to cut a scrap of cardboard to be my wreath base.You'll never see it.

This is what it looked like on the bottom, after hot glueing as I rolled.
After I ran out of edges, I cut strips of the fabric and made my own ruffles, by stitching down one {don't backstitch} edge and then gathering them. Using the edges of the sheet just saved me from this step for about half of the flowers for this size wreath.

Voila! I tied it with a few layers of jute and hot glued it to the back of the frame. I LOVE it! Not bad for recycled fabric and 8 quarters!

Linking to Tatertots and Jello weekend wrap up party and Crazy Domestic

Thursday, February 17, 2011

Berlap Ruffle Pillow

I'm on a bit of a berlap and ruffle kick today.This is a cute addition to my $5 thrift store chair that I re-did.
After cutter two exact pieces of berlap the size you want your pillow, cut your muslin a few inches narrower on each side, and you will need about 2-3 times the length of your pillow to allow for the ruffles.I folded the top of the muslin over what would become the back side of the front piece of the pillow, centered it and stitched it.

This is what it looks like when you flip it over.

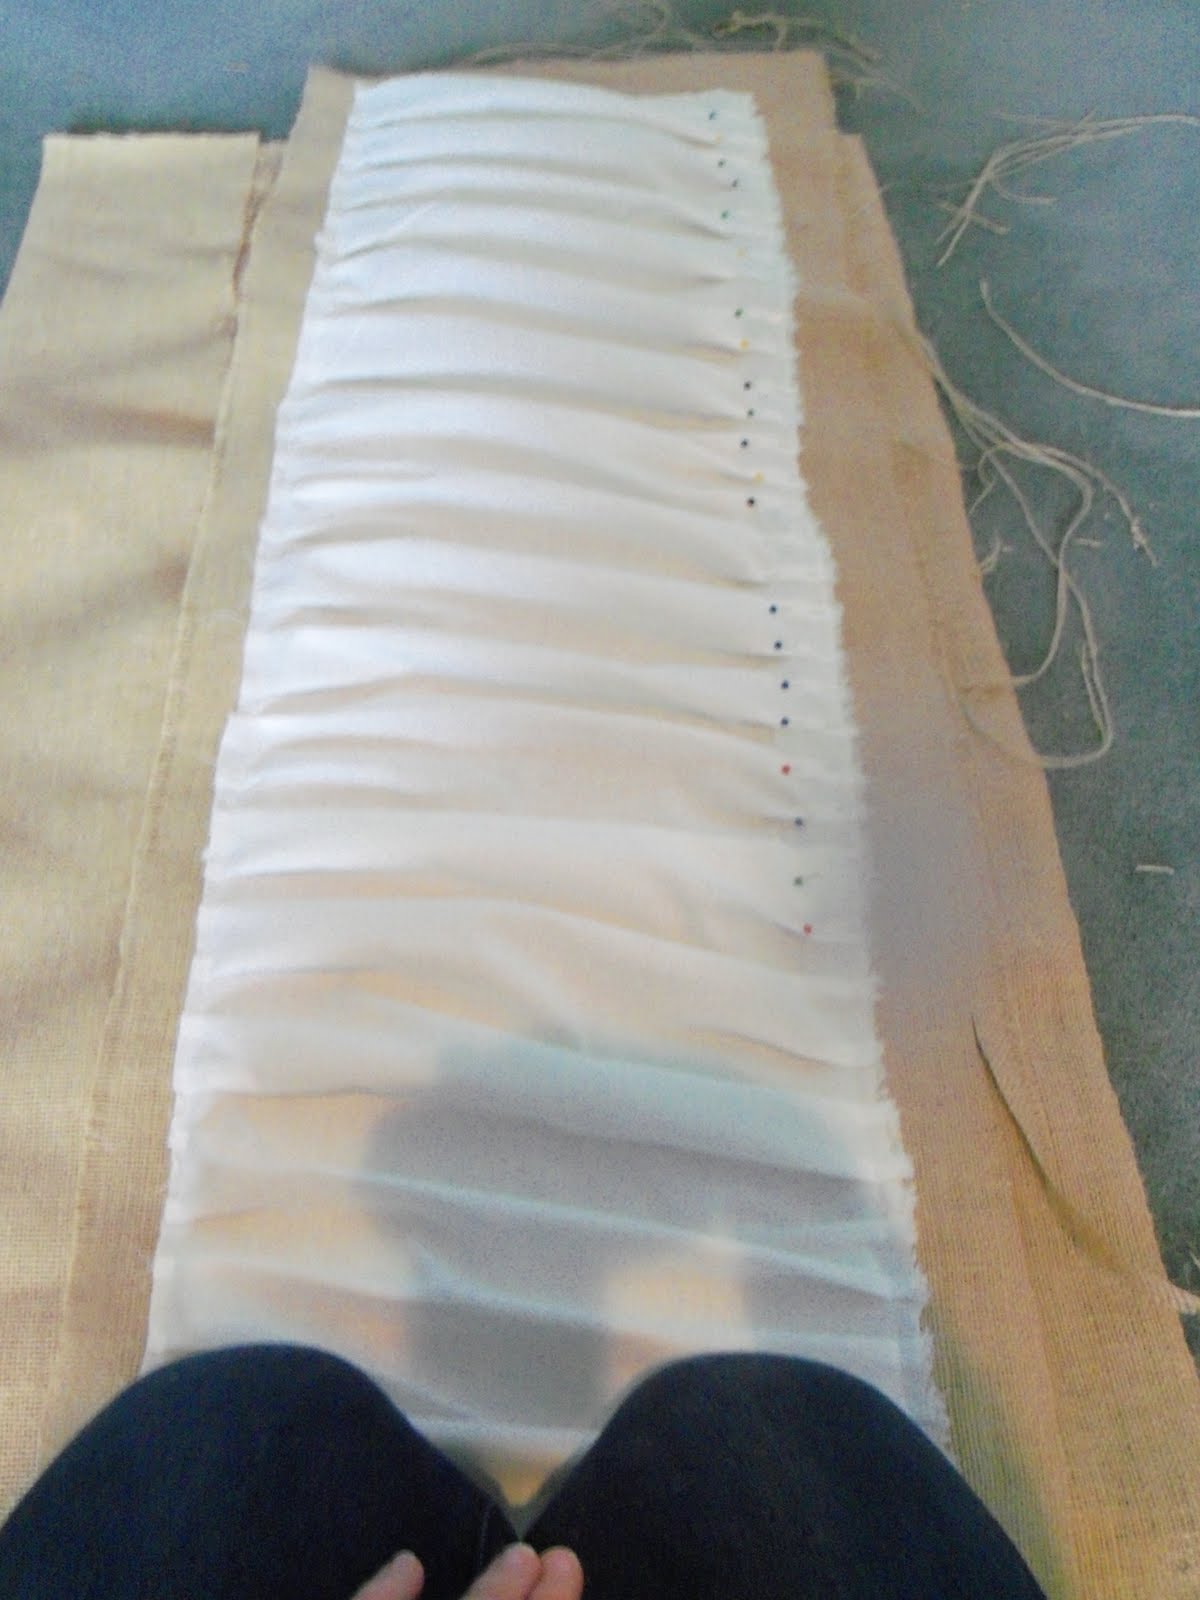
Start gathering and pinning the opposite side, using the same method I used for the table runner today. Gather as you go on the opposite side and pin each time to keep it even.

Now you are ready to stitch the other side. This side is super fast since it's already pinned. I just let the other end hang over, because it will be inside the pillow after I stitch this edge.
Put the two berlap pieces, right sides facing in, and pin around the edges. Stitch around all sides, leaving a hole that you can fit your hand in to stuff.

Here is what it looks like after you turn it inside out.

Fill it with what my girls call "fluff". ;)
Tuck in the hole and pin it closed. It's not super easy to hand stitch berlap, but the biggest trick is on the first stitch, instead of knotting the end of the thread like you would normally do, put the thread throught the fabric and tie it in a few knots. No matter how big you could make a knot, it would slide through the berlap, so you need to knot the thread with the berlap inside the knot.

Burlap Table Runner with white ruflfe

I am currently ADDICTED to browsing {and a little bit of shopping} etsy! Yesterday I ordered these really cute beadboard bird ornaments that are going to look great on my spring tree! I am just removing the sweater hearts from the Valentine's tree and making it a spring tree. I don't want to do the traditional Easter decor, mostly because I just want my spring decor to take on a more classic edge than plastic eggs. ;) That also means that I can use pretty much NONE of my old stuff!
Check out where I got the idea for this ruffle runner here. I hate showing that I made something for my home that someone else sells, but I can't bring myself to pay for something I can make for about 5 bucks. And it's for my own house, it's not like I'm making them to sell. SO....at least if you like the idea but are not a sewer, you could order from the original over at The Shabby Chic Cottage. I started off by cutting my berlap the size I wanted it. Then cut your muslin (get the cheapest one!). I bought two yards of berlap, and 2 yards of muslin. I then cut two strips of the muslin at the same time because I knew since I would be ruffling it, I would need more than two yards. You could sew them together on the back side before starting if you want, that would have been easier than the way I did it.
I sewed the top edge a couple of inches back from the berlap edge. I love that the whole thing is raw edges! As I sewed down the length of the runner, I would fold over the muslin to create ruffles.

EACH time I sewed a fold on the right side, I would put the needle down in the fabric on the machine, and pull both fabrics taut. Then I would kind of match the other side with a matching fold and pin it in place.


Since I didn't stitch my two strips of muslin together before starting, I simply folded the end of the first strip and tucked the beginning of the next strip under and kept sewing.

Even though I cut the muslin pieces at the same time, I guess there was a difference in the way the fabric was folded in half on the bolt and so I had to trim a tiny bit off the right side to make it even.
When you get to the other end, stitch it on leaving a couple of inches from the berlap edge, as was the other end.

When I was done I removed the pins, and trimmed the edges of the berlap that needed evened out.Then I simply pulled a couple of threads out of the edges of the berlap to give it that frayed look.


I think I'm going to make a matching pillow for an extra chair that I have off to the side in the dining room.
It's going to look super cute with my spring bird tree when my bird order arrives! Click on the link to see the birds!

Thursday, February 3, 2011

Hearts on a string table runner

I am actually having a productive day! It's amazing what you can get done when you don't leave the house! I saw this post for a heart runner and loved it. Check hers out because I only "loosely" followed her instructions so ours are a bit different.


It makes a perfect place for my Heart tree!

Ruffled Sunglasses Pouch!

I have a THING about sunglasses...meaning I ONLY buy cheap ones! Not only am I just to thrify to fork out the cash, but lets face it, they will get scratched, broken or lost eventually! I bought my new glasses for just over $5 bucks at Forever 21 and I love them! The only thing about cheap glasses...they don't come with a case. And if you just throw them in your purse they won't be surviving very long!
I found this cute quilted glasses case at Hobby Lobby for $1.99! Score! It's the kind where you squeeze the top to open it. I have had this fat quarter of fabric for awhile but didn't know what I was going to use it on, I just knew I loved it!

First, I folded the length in half and cut a wide strip {right sides facing in}. Ignore that there are two strips, I was going to do both sides but then decided it would be to much. When the strip is like this, sew around 3 sides of it, leaving one little end open to turn it right side out.

Turn right side out and press. Tuck the open seam under and run it through the machine. Now it is all closed up.
Now you need to run a stitch down the middle of it...do NOT backstitch!

Grab one thread and start carefully gathering the ruffle. Be careful not to break the string.I gathered from both ends and met in the middle. Gather it until it is the length of the pouch.

Here I am laying it out to see if my ruffle is the right length.

Stitch it on by hand with black thread. Make sure you don't stitch through the other side of the pouch, only go as far as your hand {as shown}.When you are done, tie a knot on the inside and you are done!

All done! I love it! AND I love that I don't have to keep my glasses on my head all day if I'm not wearing them. Not bad for $1.99 and a strip of fabric!

Photobucket