Showing posts with label distressed. Show all posts

Sunday, July 8, 2012

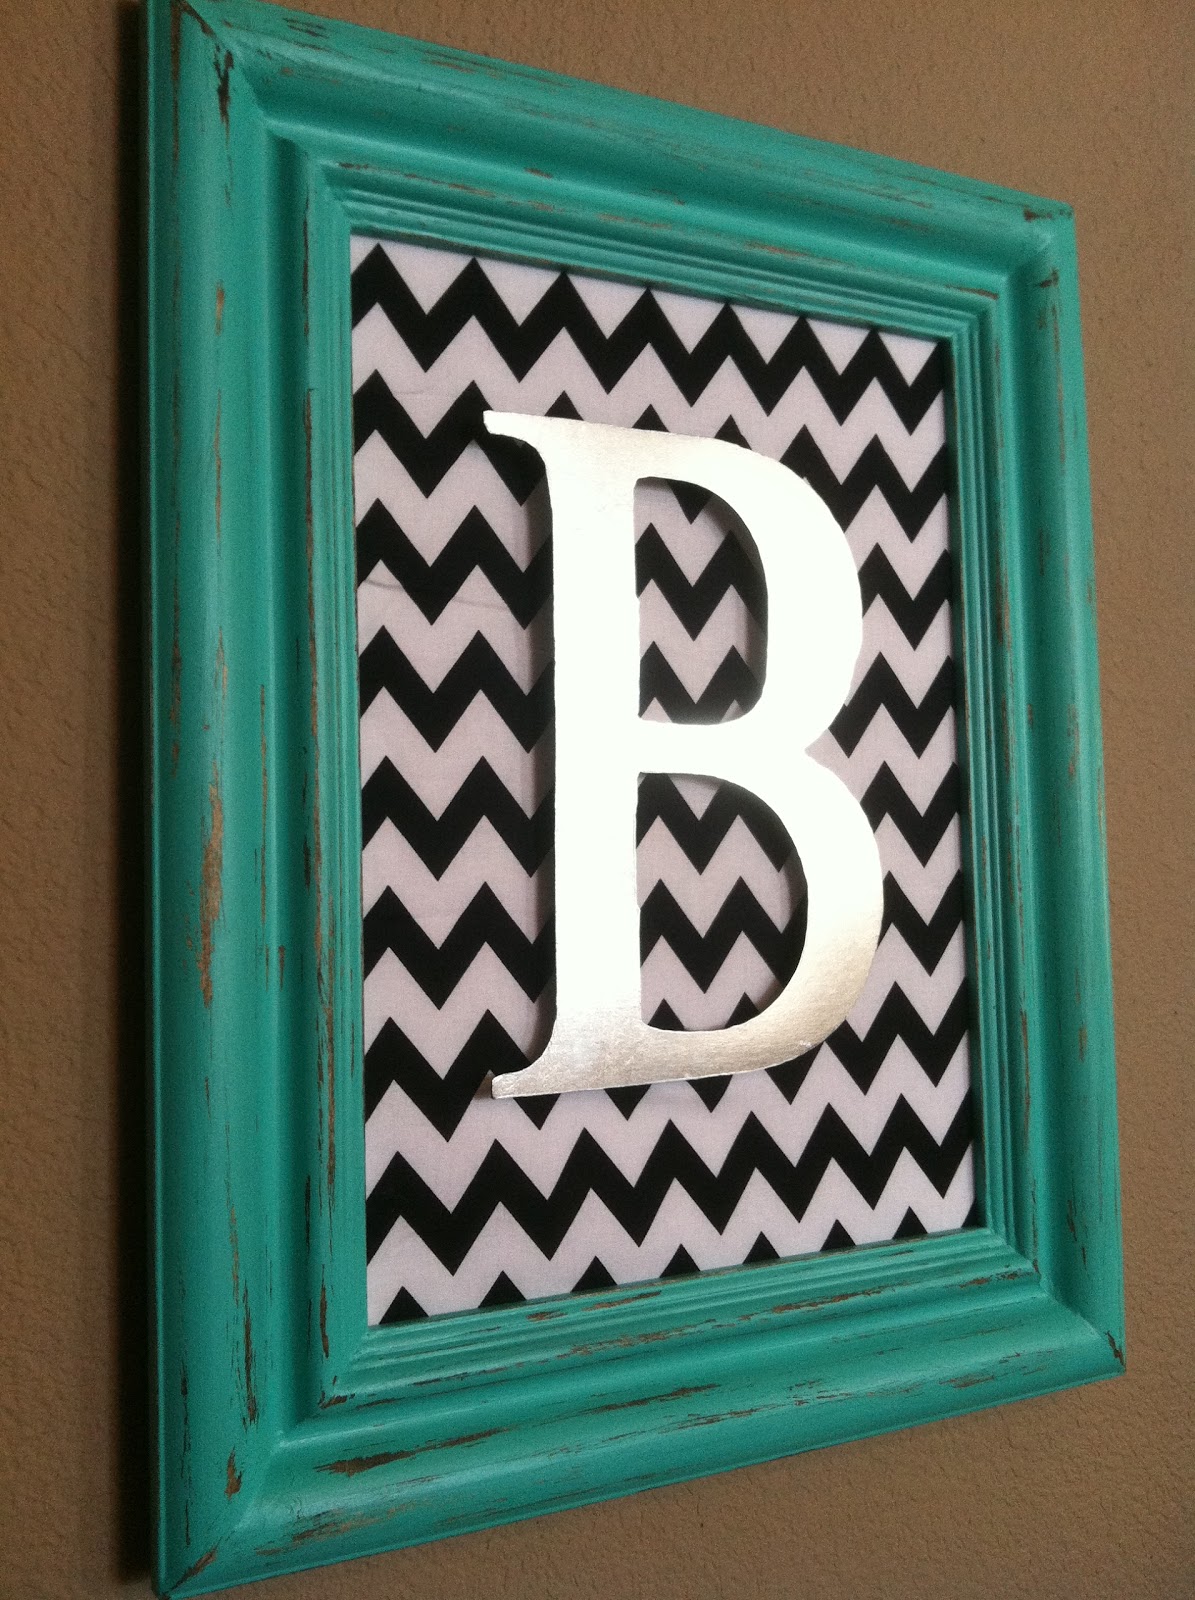
Aqua Distressed Monogram Frame {Vaseline Method}

UPDATE! I'm now gradually making these and adding them to my Etsy shop, Distressed Beautiful. Check out the sidebar! You can request your color and letter...wait until you see the red too! The Etsy version might be a slightly different shape of frame moulding, depending on availability (see the pictures on Etsy), and the letter is not on "spacers" so that it won't risk breaking off during shipping. 

Today I completed one of my favorite projects ever! Last week I received my large metal letter in the mail. It was a Groopdealz, for $4.50. Surprisingly, I didn't have any thrift store frames on hand to paint, so I decided to try to make one. 
 I had leftover trim boards from framing my bathroom mirror last week. I had enough to make a 16x20 frame. Having a laser on my saw makes this the easiest thing ever! I lightly sanded any rough edges on the cut ends.
 I used Gorilla wood glue to hold it together and taped it in place.

Wednesday, June 20, 2012

Trash to Entry Table

I must say, this is one of my all-time favorite re-do's! It was a whopping $15 at a yard sale Saturday! 
 Check out what it started out as...
 Of course my hubby thought I was crazy (again!), but I saw potential. I loved the doors, but there was a section of one of them missing. Because of the detail in the panels, I decided to just remove them. I saved them so that I can use them for something else.
 It was completely filthy, and full of spider webs. The first step was to spray this sucker with bug spray, especially underneath!
 The next thing I did was pressure wash it REALLY good. There was some thin paneling type of wood on the top of it, which had already peeled off in sections, so I decided to take the rest off, and go with the wood planks I saw underneath it. The paneling was glued down pretty good, so I used a scraper and tapped it with a hammer to chip it off.
 After that, I sanded the top to get off the stuck on pieces.
 You'll see I started to paint the interior sections gray, but I decided it wouldn't match my house. I ended up switching to the same Valspar Honeymilk that I used on my dining room table.
 Removing the doors wasn't as easy as it seemed. There was a stripped screw on this side and it wouldn't allow the metal hinge to come off. In the picture below, you can see the door closure pieces that also would not come off with screw drivers or drills.
 I saw my hubby use his sawzall the other day to cut screws so I asked him to borrow it. He didn't have time to do it for me, so I went ahead and did it. It's kind of fun to use a new tool! Especially when you still have all of your fingers left when you're done. ;) It easily cut off all of these pieces and I was good to go!
 After the paint dried, I used sandpaper to distress the edges of the cabinet and drawers. I had a really hard time finding drawer pulls that were small, like the originals. The original pulls were one short, so I needed new ones. I settled on these from Hobby Lobby and spray painted them black. I lined them up so that they would cover the old holes.
 Then I simply screwed them on with a cordless drill.

I bought two baskets at Hobby Lobby for 50% off, but wanted to jazz them up a bit. I stumbled across these metal numbers and knew what I wanted to do. I simply cut a piece of jute, and tied a knot in the center of it. I pulled it through the hole in the number.

 Now I'm ready to tie it to the basket.
 I placed it where I wanted it, and slipped the jute through the basket.
 I tied it in a double knot around one of the weaves in the basket.
 Love it!
I can't wait to figure out what I want to store in here! The black bins are from Target. 


I am SO glad I bought this thing!!! :)
I am excited to link up to Beneath My Heart's "Best DIY Projects of June" Party!
Positively Splendid

Wednesday, March 28, 2012

Painted Farmers Market Sign

I have this big open space on the wall in my kitchen, above the sliding door, that has been driving me crazy. I hate open wall space. I made a quick sign today and it was surprisingly easy!I had this cupboard door in my garage from a long-ago ReStore purchase. I gave it a couple of coats of Valspar's Crystal Aqua that I had on hand.

After that dried, I measured how big I wanted my letters, and cut it with my Silhouette out of vinyl. I used the Pottery Barn font, which I downloaded for free.
I removed the letters, since I was going to use the negative space as a stencil. Next, I used transfer tape to ensure it wouldn't get all tangled when I applied my stencil to the board. A tape measure is your friend when it comes to spacing.
I stenciled it with black paint. After that dried, I lightly sanded the whole sign to distress the letters, and edges of the board. Last, I LIGHTLY wiped on and off some antiquing glaze to age it a bit.
I WANTED it to look this way. ;)
Hopefully you can see the distressing in these outdoor pictures. I almost wanted to see through the black letters a bit.

It's now happily hung in it's new home above the sliding glass door in the kitchen.

Sunday, July 17, 2011

Distressed Dining Table

Well, here we go! I suspect this post is going to be long, because this project took me ALL weekend to do! I STILL have to find and spray paint two more chairs but that will be easy. Here is the tale of a craigslist table turned shabby chic. I like to show the finished product first... The table that came with the house {not pictured} when we moved in was nice, but way too fancy for us. The entire edging around the table had intricate carved designs. {Que kids who drip syrup every morning} After living with it for four or five years now, I finally decided it was time for a change. I was going to build a farmhouse table using Ana White's plans but after finding this on craigslist, I decided this would be easier.


SO! I bought this puppy for $80 {it was listed for $100}, and upon unloading it upside down from the truck I saw a "Made in Italy" stamp! Saa-weet! This baby is solid wood, even the entire tabletop is ONE piece of solid wood. It had been routed to look like it was separate boards, but I'll get to that later. First up, I used my sander and 40 grit sandpaper to remove the finish and scratches from the tabletop and edges. My original plan was re stain the top dark, and do the legs and bottom of the table cream and distress it.


Herein lies the problem. These grooves in the wood, {which I could envision syrup getting in} needed to be filled in. I bought stainable wood filler but was still skeptical that you wouldn't be able to tell the difference from the wood to the filler. I was right. After I filled the cracks and let it dry completely, I sanded it again, this time with 120 grit disks. Next, I stained the whole top {I justified that I hadn't completely wasted a day of sanding by telling myself I DID have to get those big scratches out anyway}.


Can you see all those tiny dimples all over the wood? Brandon told me that they do that on purpose for decoration. Say what?! Looks like a kid took a nail and hammer to the whole thing. I filled some of them in with filler, and some I just made sure the paint got all the way in so that they weren't as obvious. I knew the distressing at the end would also aid in masking their imperfections. That's the beauty of distressing. ;)


I stopped taking pictures because my hands were busy painting! After the stain dried overnight {after I wiped it off according to directions of course}, I painted 4 coats of "Honeymilk" high gloss Valspar paint from Lowe's. Originally I planned on using flat paint and then applying polycrylic clear coat on top. Then we saw how much the polycrylic costs. We rushed back to the paint counter and switched to high gloss before she tinted our paint. The high gloss will allow for wiping it down without taking the paint off.

You see I'm missing two chairs. I'll be hitting up the thrift stores this week to find me some $5-$10 chairs that I can paint. I decided to do mis-matched chairs and a few different aqua colors.
I have three shades of aqua and I was going to do two of each color. I already had one heirloom white distressed chair so I'm toying with the idea of having the two end chairs match the table and the other four chairs aqua. That will probably be what I do.


After the paint dried, I took fine sandpaper and distressed all the edges of the table. I also did some areas down the legs. This is the reason why I stained the whole top after realizing the wood filler would show...I wanted the dark stain to show through under the sanded places.


This chair I originally painted heirloom white and had a gray and yellow fabric on the seat. I switched that all up and now it's good to go!


This chair I bought at an estate sale a few weeks ago for $5. This one is the lightest aqua.


Here is the heirloom white chair I already had.


This chair is from that same estate sale, and it was $10. This one I actually used my free quart I got in the mail of Glidden paint in "Deepest Aqua" and then distressed it.


Well, this project took me all weekend, but I did it! I'm super happy with how it turned out! Also this table isn't so enormous like my old one, so it gives us more room in the dining room. I'll be sure to post the finished look when I get my last two chairs done! :)