Showing posts with label thrift stores. Show all posts

Saturday, June 15, 2013

Vanity Re-Do with DIY Chalk Paint

Since summer began, I've been working on a bunch of BIG chores that I never have time to do. I've also started paying attention to my bedroom, really the only room I haven't decorated in the house. I want to make it a place we WANT to be. I want it to be relaxing, and beautiful. I bought this small old desk a couple of years ago so that I would have a place to sit down and put on my make-up and dry my hair. I didn't paint it, and it really just looked horrible. I can't believe I let this go so long.
 Here is what it looked like yesterday...
 Last night I picked up some gray satin paint. This morning I simply mixed a tablespoon of non-sanded white grout and about 16 oz of paint. I brushed on two coats of paint and it's like a brand new piece!
 I put on a light coat of wax to finish it off. Did I mention this piece is LAMINATE?! Yep! I used this recipe for chalk paint and I didn't even have to sand it.
I can't believe how easy it is to use this method to paint furniture. I am notorious for loathing furniture painting.

Friday, May 10, 2013

Vintage Revamp with Crate Shelf DIY

I've been thinking about changing a few things up in my house lately. Actually, I've started a list for summer projects. Planking the inset wall behind the tv is at the top of the list, and my mess of a bedroom is a close second! 

This week has kind of made me stir crazy. I was sick over the weekend and it was so terrible that it left me really weak for the first half of the week. Then one of my daughters got it, and now my other daughter might have it. We've had lots of movies and what seems like non-stop couch time.

I decided today that I would use my time cooped up at home to make a few changes with stuff I already had. 
 First up, I wanted to mount this BIG (it's much bigger than it looks in the photo) crate on the wall as a shelf. The problem was, there was a phone jack mounted to the wall here. We don't even HAVE a home phone anymore because we just use our cell phones.

I decided to try to remove it. In the past, I just covered it up with various things that didn't have to sit flush to the wall. It was easier than I thought!

I used long screws and a stud finder to mount the shelf securely to the wall. You find studs in the strangest places when hanging heavy things, so my screws are actually dead center through the crate back wall. If my metal tray wasn't in the photo, you would see the screws.  I bought that huge frame at a junker's paradise in Capitola. The cream chalkboard I'd made awhile back and never used.

 I then started pulling stuff from other places in the house to arrange the crate. It's tall so it looks weird if there isn't color going up high inside it. I planted some succulents in an old floral tin that I thrifted last week.
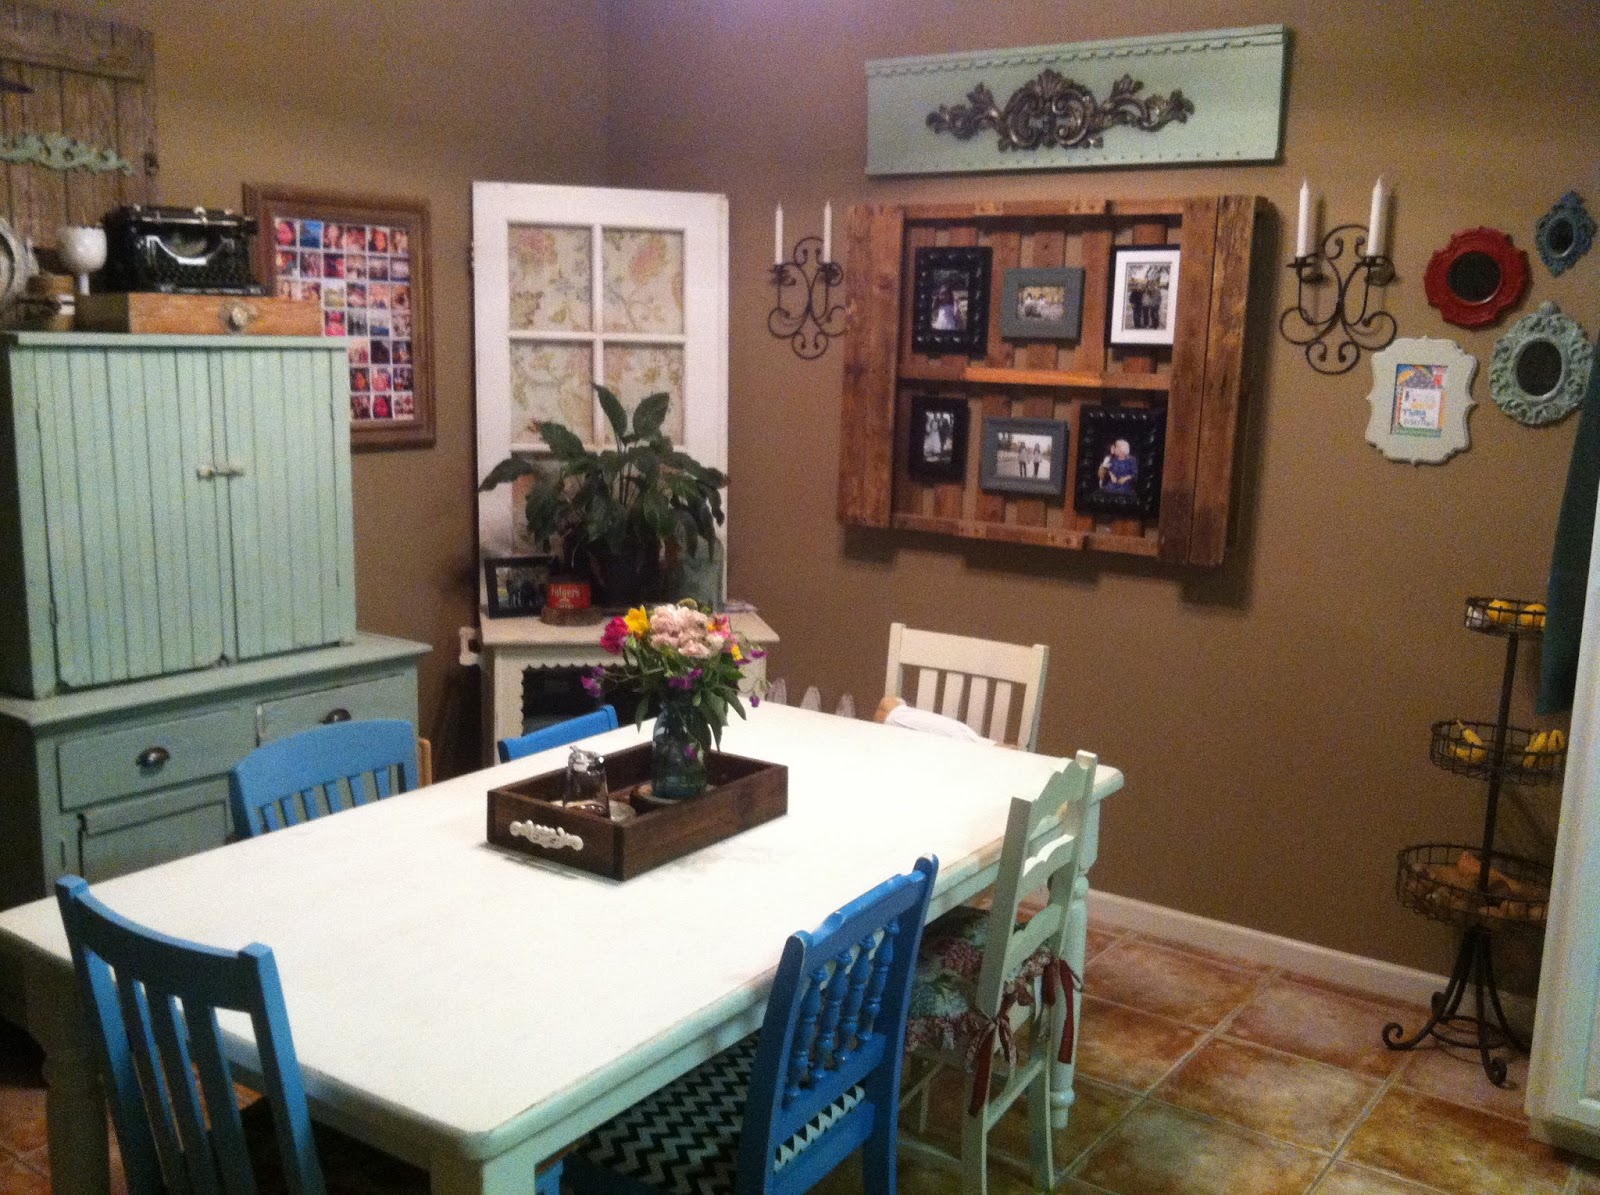
 Here's kind of a wide angle of my dining room. It's actually bigger than it looks, so I guess I didn't stand far enough back.
 I scored some old glass milk bottles at a yard sale last week and they came in this small crate. I turned it on its side and put it on the kitchen counter. I found that cute little blue jar at World Market and I use it to store my chia seeds for smoothies.
 I bought this little old mint tin at a thrift store a couple of weeks ago. It makes the perfect quirky planter for a succulent.

I feel like I'm finally starting to make my house look the way I feel on the inside. It might be a little strange to some people, but I just LOVE old stuff mixed with new. You don't have to wait around for your bank account to allow for you to make your house the way YOU want it. You just have to think outside the box.

Saturday, June 16, 2012

Colorful Distressed Frames

I've realized recently that my house has become too turquoise. I have resolved to add more colors, and refrain from adding TOO much of one color, hard as it is for me. I found six of these wood frames for $1.48 each at Rescued Treasures. I bought them all and headed to Lowe's for paint.One of the colors I've decided I need to add is red. It goes well with turquoise. Have you been to the Lowe's paint department lately? They have a display of some beautiful color samples, already mixed up and ready to go. Great for projects! The dark one is Gypsy Teal (pre-mixed section), the lighter one is Tantalizing Teal, and Heirloom Red, all Valspar. I gave them each about 3 good coats, and then used a 3M sanding sponge to distress the edges.

 I love the way they look distressed. They didn't come with any backing, so I cut a piece of foam board into 5x7 pieces and covered them with black and white chevron paper from Hobby Lobby. Last, I used E6000 glue to add the clips from Wal-Mart. I hammered in sawtooth picture hangers, and voila!
 Hanging them was easy! Have you ever used the toothpaste method? You put a tiny dab of toothpaste on the back of the frame, where the nail will be, and then push the frame up against the wall where you want it. The dab of paste sticks to the wall and shows you exactly where to hammer in your nail. :)
 I love the pop of color that these frames have added to my living room!

Thursday, June 23, 2011

Framed Chalkboards

I'm going to do something different and show you the "after" pictures first, then the "before". I didn't take pictures of the steps, but it's SO simple! For this one with a canvas painting, I simply painted over it with 4-5 coats of chalkboard paint, letting it dry in between coats. Since this is only going to be used for decor, not a functional everyday use, I don't mind that it's canvas instead of a hard board. Here is the next set. On this one, I cut off the brown paper backing and bent back the big staples holding the print and glass inside. I threw away the glass and since this board was completely smooth, I used it to paint the chalkboard on directly. I spray painted the frame Heirloom White. I am SO tempted to paint a red frame, but since these are my first large chalkboards, I wanted ones that could match more parties.


There you go... super easy and inexpensive! One little jar of chalkboard paint has lasted me over a year, from my first chalkboards!

Wednesday, June 22, 2011

Thrifty Frames

This morning I hit up Rescued Treasures in search of some large frames that I could transform into chalkboards for the upcoming wedding/parties I'm doing. I've seen a lot on pinterest that got me inspired. I love the detail of this old one. Cost=$9.88


This long one was $12.96. I think those will both make great chalkboards once I paint them!

This deal I found for myself and am keeping as-is! I have been looking for a long skinny frame for my frame wall for months and this one was $14.96! It is SO heavy! I LOVE the detail on it!

Monday, May 16, 2011

Shutters

I found some old shutters at ReStore (the habitat for humanity thrift store) last week. I am in love with this store! I've got lots of other projects coming up with crap I found there! ;) Including WEDDING stuff! Yes, I am officially deocrating my first wedding this fall! Woo hoo! Ok, back to the shutters... the tall one was $15, short one was $10. They are folded in half in this pic, so they open up to twice the width. I didn't know exactly what I wanted to do with them until I saw this picture on pinterest!I painted them with a robin's egg-type of aqua paint I already had. After it dried, I brushed antiquing glaze over the whole thing. The chips in it happened by accident, because of the type of finish on the shutter before I painted them, when I was wiring the pictures to it some of the paint shipped off. That's one of the best things about shabby chic. Accidents look purposeful! :)

Birch Tree Planks

On date night last week I talked my hubby into running into Rescued Treasures before dinner. I just can't help it...you just never know what you're going to find. Check out this link of a super cute tree painted on planks. I discovered it on pinterest. By the way, have you discovered pinterest??? ENDLESS inspiration! I'm in trouble! I found this dragon on planks for $6.88. I instantly whipped out my pinterest app on my iphone and checked out the tree plank idea again to see if I thought I could do it on this.


One of my fellow "trash to treasure" friends asked me if I was embarrassed to buy it...yes! lol


I taped off the edges, just a little bit past the ugly dragon, so that I would be sure to cover the whole thing. I painted a couple of coats of paint that I already had. After that dried, my hubby free handed a tree while looking at my inspiration picture. I would have loved to make a stencil on my silhouette but it was just too big!


I love the texture of the board. Can you see it? I totally helps out the birch tree effect. I painted it white by HAND and it took me over an hour and a half!


After it dried overnight, I used the tip of a foam brush and a super light amount of antiquing glaze to add the black lines that are on birch trees. I dabbed it on a paper towel first to remove most of it, and then if it still went on too dark, I smudged it with my finger to make it lighter and blend.After all of that it still looked to "new" to me. I just can't handle full on paint in most situations. I was afraid of ruining it with sanding but it worked great!


I took a piece of sandpaper and lightly rubbed all over it. The best part is I did it right after the glaze so it also smeared the glaze all over it too.


I was worried about the dragon showing it's ugly face again if I sanded it, but it didn't, it came off too, so the board shows through a bit in spots. Love it! I still like the original better, but I like mine too. :)


Wednesday, April 27, 2011

Rustic Shelf

I could not be more thrilled!!! It is not very often that something comes together even better than you planned! Today it did!


I bought this old worn down window -without glass- for $8 at Paris Flea Market a week ago. I had this old piece of wood in the garage for awhile now too. I thought, wouldn't it be cool if I made my own rustic shelf?


I went to Home Depot and bought two solid wood corbels for $11 each. I spray painted them Rustoleum's Heirloom White. After they were dry I roughed them up with my 3m sanding block. Next up I used Valspar Antiquing Glaze to weather them a bit. I applied it with a foam brush and then wiped off immediately with a paper towel. Want it darker? Add more. Want it lighter? Use a lighter coat. I love this stuff!


This is what they looked like when I was done. Now I have the base to my shelf. They come with screws and there is a groove for it on the back so they sit flush with the wall.


After cutting my wood board, I had raw edges that didn't match the worn look of the rest of the board. I just added some glaze to these too, just lightly, and wiped off. The glaze grabs to the raw parts of wood a lot more, so you have to be careful with that.


I used my stud finder to locate the wood in the walls. Then I installed the corbels, making sure they were level. Next I laid my board across it, leaving just a tiny lip on each side of the board. It just so happened that's where it ended up with where the studs were in the wall and I like it that way! Then I screwed in a screw from the top of the board on each end of the shelf, drilling it into the corbel. Voila! Done!


I could not POSSIBLY love it more!!! I realize I am showing you a picture and I haven't bought a candle yet for the candle holder, but I was too excited!


I love the contrast of the corbel with the heirloom white showing underneath the antiquing and the dark weathered wood.


I'm going to show you how to make this bad boy soon! I love it!


Notice the old lock hanging on the nail. I had that laying around the house.


What a score for $8 huh? I LOVE the frame!


Decor Rundown:


Corbels $22 Home Depot


Shelf FREE


Frame $8 Paris Flea Market


Bike $10 Hobby Lobby (50% off)


Key Frame $7.00 Hobby Lobby (50% off)


Candle Holder $7.50 Hobby Lobby (50% off)


Baeza block FREE


Monday, January 31, 2011

Oval Chalkboard Frame

The oval frame was $1 at Rescued Treasures. I took out the ugly picture and gave it three coats of chalkboard paint that I already had from previous projects. There was a bubbled piece of plastic instead of glass on this frame, so I just removed it. I painted it Heirloom White with about 4 coats of spray paint. I simply inserted the chalkboard back into the frame and since The backing of this frame wasn't going to told it firmly in place, I hot glued it into the frame permanently.I can hang it vertically or horizontally. I am going to hang it as the top picture shows, near my craft station so I can jot down supplies as I run out of them.
This is a smaller version of my first chalkboard project... and it only cost me a buck!