I am currently ADDICTED to browsing {and a little bit of shopping} etsy! Yesterday I ordered these really cute beadboard bird ornaments that are going to look great on my spring tree! I am just removing the sweater hearts from the Valentine's tree and making it a spring tree. I don't want to do the traditional Easter decor, mostly because I just want my spring decor to take on a more classic edge than plastic eggs. ;) That also means that I can use pretty much NONE of my old stuff!
Check out where I got the idea for this ruffle runner
here. I hate showing that I made something for my home that someone else sells, but I can't bring myself to pay for something I can make for about 5 bucks. And it's for my own house, it's not like I'm making them to sell. SO....at least if you like the idea but are not a sewer, you could order from the original over at
The Shabby Chic Cottage.

I started off by cutting my berlap the size I wanted it. Then cut your muslin (get the cheapest one!). I bought two yards of berlap, and 2 yards of muslin. I then cut two strips of the muslin at the same time because I knew since I would be ruffling it, I would need more than two yards. You could sew them together on the back side before starting if you want, that would have been easier than the way I did it.

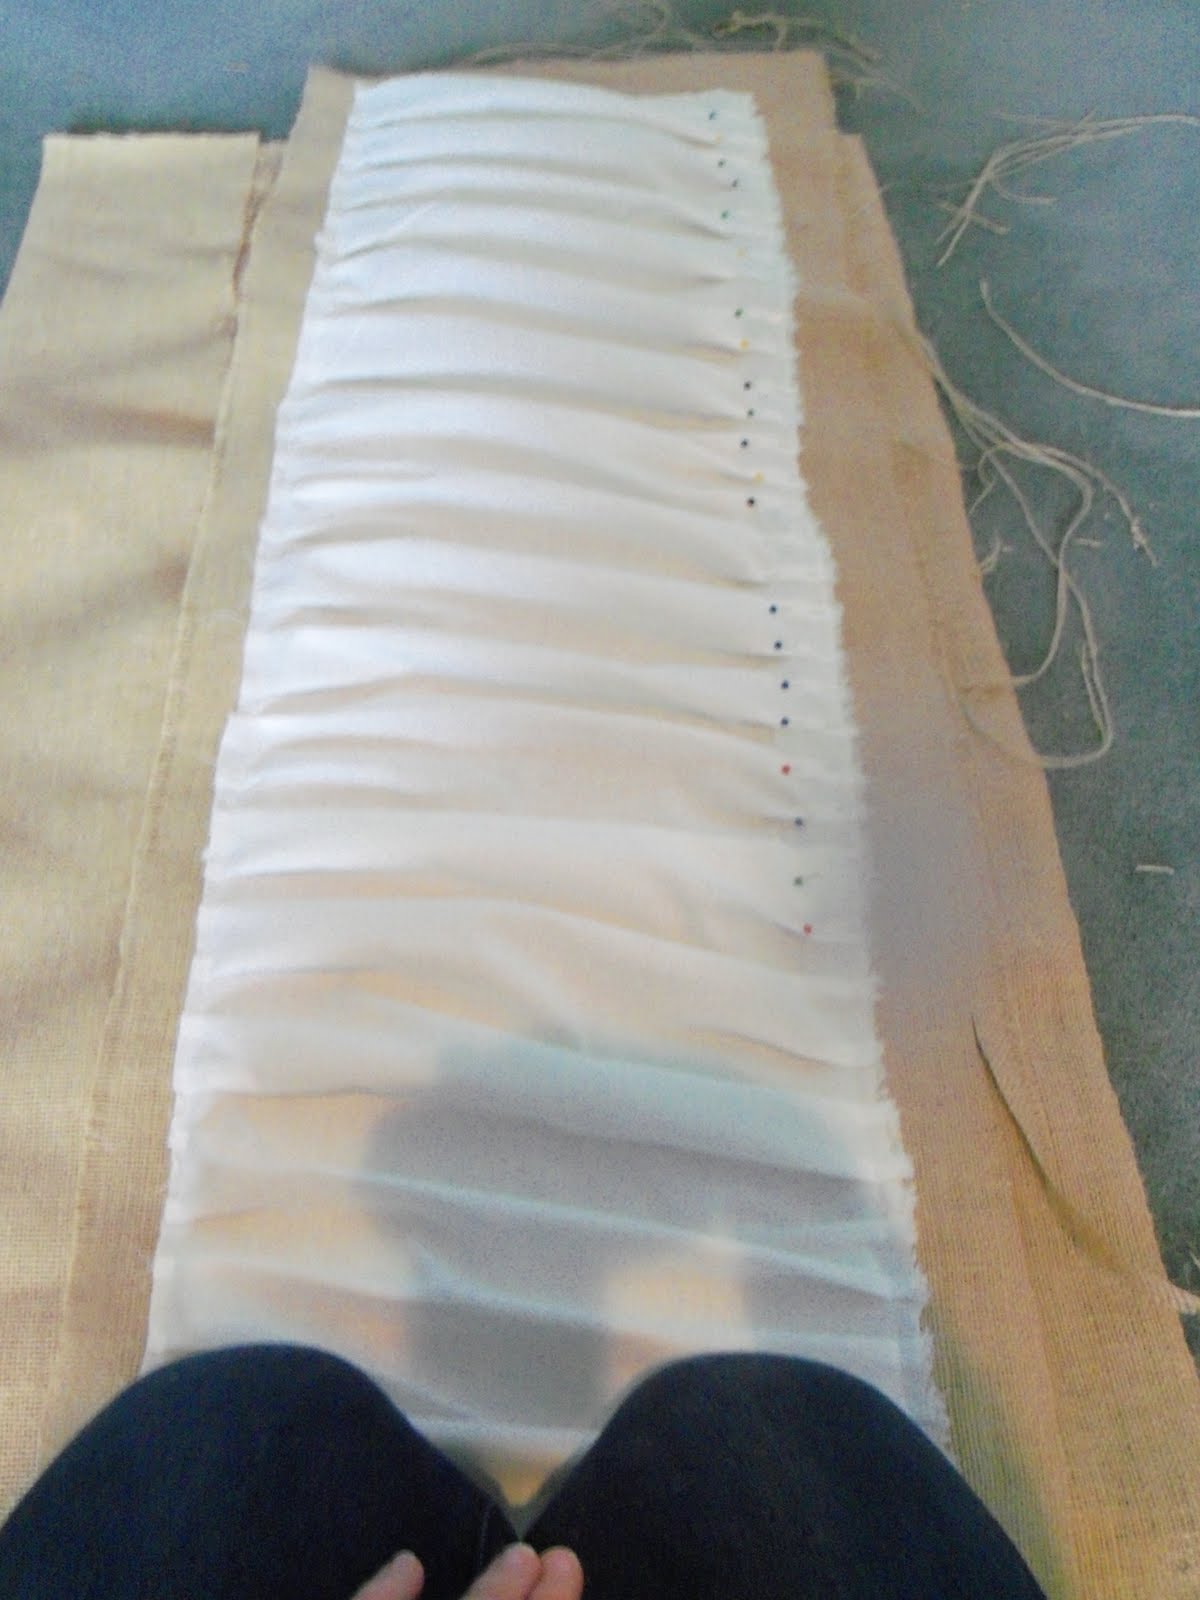
I sewed the top edge a couple of inches back from the berlap edge. I love that the whole thing is raw edges! As I sewed down the length of the runner, I would fold over the muslin to create ruffles.

EACH time I sewed a fold on the right side, I would put the needle down in the fabric on the machine, and pull both fabrics taut. Then I would kind of match the other side with a matching fold and pin it in place.


Since I didn't stitch my two strips of muslin together before starting, I simply folded the end of the first strip and tucked the beginning of the next strip under and kept sewing.

Even though I cut the muslin pieces at the same time, I guess there was a difference in the way the fabric was folded in half on the bolt and so I had to trim a tiny bit off the right side to make it even.

When you get to the other end, stitch it on leaving a couple of inches from the berlap edge, as was the other end.

When I was done I removed the pins, and trimmed the edges of the berlap that needed evened out.Then I simply pulled a couple of threads out of the edges of the berlap to give it that frayed look.

 After cutter two exact pieces of berlap the size you want your pillow, cut your muslin a few inches narrower on each side, and you will need about 2-3 times the length of your pillow to allow for the ruffles.I folded the top of the muslin over what would become the back side of the front piece of the pillow, centered it and stitched it.
 This is what it looks like when you flip it over.
 Start gathering and pinning the opposite side, using the same method I used for the table runner today. Gather as you go on the opposite side and pin each time to keep it even.
 Now you are ready to stitch the other side. This side is super fast since it's already pinned. I just let the other end hang over, because it will be inside the pillow after I stitch this edge.
 Put the two berlap pieces, right sides facing in, and pin around the edges. Stitch around all sides, leaving a hole that you can fit your hand in to stuff.
 Here is what it looks like after you turn it inside out.
 Fill it with what my girls call "fluff". ;)
 Tuck in the hole and pin it closed. It's not super easy to hand stitch berlap, but the biggest trick is on the first stitch, instead of knotting the end of the thread like you would normally do, put the thread throught the fabric and tie it in a few knots. No matter how big you could make a knot, it would slide through the berlap, so you need to knot the thread with the berlap inside the knot.