Showing posts with label crafts. Show all posts

Wednesday, November 7, 2012

Antler Wall Art

I've had this project in my head for months and I've been so busy that I just now had time to do it. I'm loving that antlers are making their waves in home decor right now. This is a shed that my husband found in the mountains a few years ago. He lost them for awhile and after cleaning out the garage, we finally found them. Deer are so prominent in other areas, but finding these in the mountains near us is like finding gold to a hunter. 
 I found this verse that goes perfectly with it. "As the deer pants for streams of water, so my soul pants for you, my God." Psalm 42:1

I had these old boards in my garage for over a year. They were already screwed together like this, I just decided to stain them so that there would be a good contrast against the light antlers. In case you're wondering, I just used 2 part epoxy to glue the antlers to the wood. 

Monday, March 19, 2012

Fabric Wrapped Cans

I've been saving a few cans, and yesterday I finally got around to doing something with them. I think I'll add something to the big one, we'll see. I saw some paper wrapped cans on Pinterest awhile ago, and they were lined up on a table with flowers in them. I decided to use some leftover fabric.This couldn't be easier, remove the can labels, throw the cans in the dishwasher.
Lay your can on the fabric and cut it to match.
I used mod podge, but you could hot glue. I
liked my fingertips yesterday so I decided not to burn them off. ;) For once.
I feel silly even posting these pictures, because it's quite obvious how to cover a can!
I use the giant can for all of my various metal pieces, handles, and knobs. The small ones will probably hold flowers or utensils at my vintage-y 30th birthday party next month. ;)

Saturday, February 18, 2012

Book Page Wreath

I've seen book page wreaths all over the place... online and in stores. I recently had to change my shelf decor because V-day is over, and my old window frame looked pitifully lonely. I already had everything I needed to make it, all I needed was TIME!I ripped up a old book from a thrift store. First I tore strips and hot glued them around the foam circle, in case the sides could be seen. After that, it's just rolling cones and hot gluing. Super easy, just labor intensive.
I did three rows of cones.
I wanted something to go in the center, and I had these boards from Pick Your Plum. I used one, and hot glued a metal plate and knob from my stash.


I TOTALLY love it!!!

Wednesday, June 22, 2011

Firecrackers!

I saw firecrackers on Pick Your Plum a couple of weeks ago and knew I had to make some! I cut my wood different heights, sanded the ends, and drilled a hole in the top for the "fuse".

I decided I would mod podge mine instead of painting them. I cut my strips of paper just slightly smaller than the wood.


Simply mod podge them on {under the paper, and on top-for those of you who are new to mod podge} and let them dry! I put a layer of mod podge on the top face of the blocks, and stuck in a piece of jute twine. It will dry that way as long as you get some mod podge in the hole.

After they're dry, group them together and tie with twine. :)

Wednesday, April 27, 2011

Monogram Block

Yesterday I played around with my new miter saw and cut some wood for various projects. I had a piece this size leftover and I knew just what I wanted to do with it!


First off, I ran my sander around the rough edges. Next up, I gave it a coat of Heirloom White spray paint. Then I roughed up the sides with my 3m sanding block. The picture below shows what it looks like after I added Valspar Antiquing Glaze. Just apply lightly and wipe off with a paper towel until you get the desired look. It will cling to the sanded areas more, making those parts darker.


Edge view...


After I let it dry for the afternoon, I cut a large B out of gray vinyl with my Silhouette. Then I cut Baeza out of black vinyl. Whenever I am using vinyl for wording, I use transfer tape. It is so much easier! The letters don't get bunched up or uneven.


I LOVE the way it turned out!!! It looks perfect on my new rustic shelf I made today!


Friday, April 22, 2011

Shanty's Picture Holder

Quite some time ago, I saw this post on Shanty 2 Chic. It took me awhile, but I finally made one! I love how it turned out. My board is a different size and my little decorative pieces are different, but same idea!Did I mention that it was my birthday this week and my hubby got me a telescoping miter saw?! Yes, he's the best! This block of wood was my first cut, I'm in love! The other three pieces I got at Hobby Lobby. I put Gorilla Glue in the picture, but then switched to E6000. I glued it all together, and went to bed. Unfortunately one of the joints came apart the next day so I reattached that part with hot glue. Next I spray painted it in Rustoleum Heirloom White. Then I sanded the edges and rubbed a bit of Valspar Antiquing Glaze on it and then wiped it off with a cloth.


I tried to do a close up so that you could see the distressed edges.


Lastly, I hot glued on the clip and we're ready for a picture!


I love how it turned out and I REALLY love this picture on it. I might add a fabric rosette in the corner to jazz it up a bit. ;)

Friday, April 8, 2011

Monogram Charger

I wandered into Pier 1 today and as soon as I walked in the door, these beautiful wooden chargers were jumping out at me!
Just LOOK at how beautiful they are!! They are even prettier in person! They are an off-white color and distressed beautifully! They are $12.00 each, so I only bought one! Haha! I'm wondering if the little Easter chickies by the register were chanting "cheep, cheep" when I was checking out!
I can't really use chargers except for special occasions, so I didn't want to invest that much into a set. Honestly even if I were rich I wouldn't spend that much on a set of chargers. BUT I thought I would buy one and see what I could do with it! I actually planned on just keeping it stashed away and put it out when I serve a plate of cookies or something.
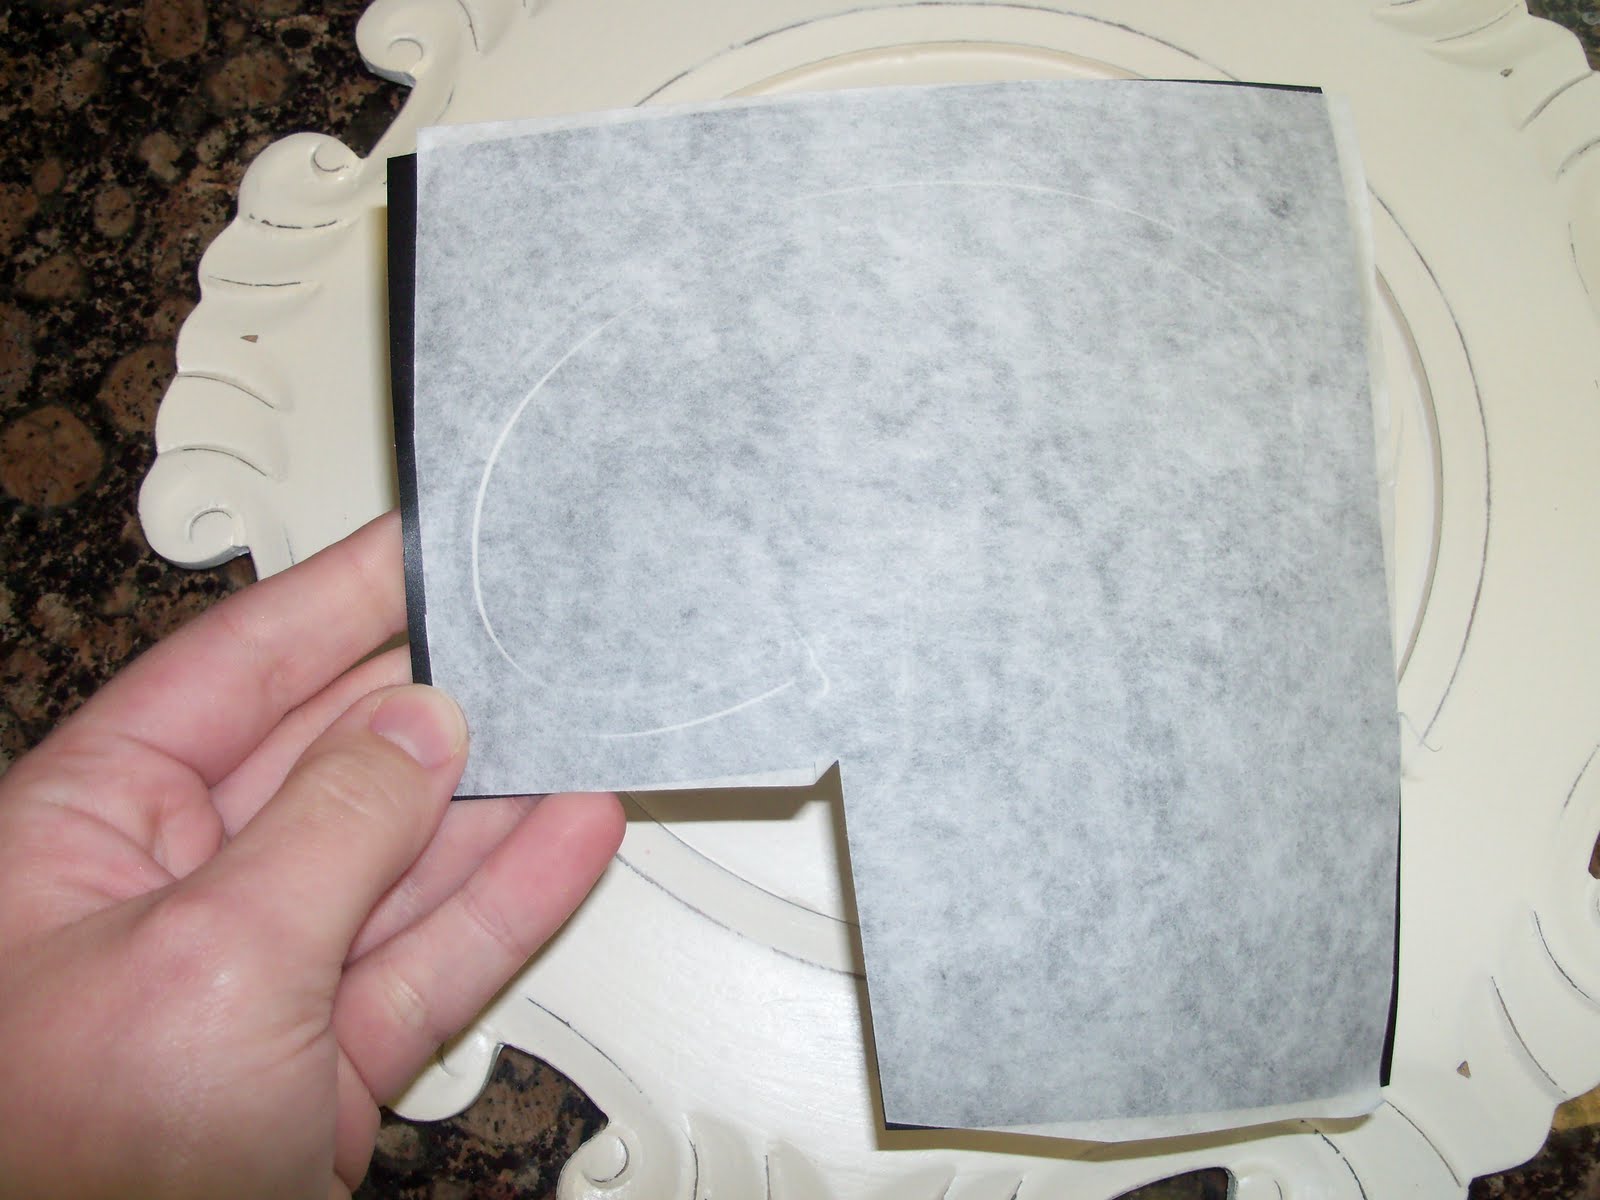
BUT when I got home and got it out of the bag, I knew I had to do something with it! I decided it would be cute with a monogram initial, cut out in black vinyl. So I got out my handy dandy Silhouette and used my favorite LD Dainty font to cut a big "B". After that, I cut around it with scissors {saving as much vinyl as I can} and did the same for my transfer tape. I peeled the paper off the back of the transfer tape and smoothed it down onto my vinyl B.
Next I carefully peeled the tape off the vinyl, making sure the B was sticking with each move.
Then I laid it down in the position I wanted, and pressed hard along the B.
Next you just peel off the transfer tape slowly.
Voila!
I decided it would replace something that was really old and out-dated on the top of my kitchen cupboards.
I used a plate rack I already had. Actually it looks like it's for cookbooks, so the hunt is on for a new one.
Look at how wide the base is. I don't like it for this because of the angle when you are looking up at it, the iron kind of gets in the way. It needs to be a narrower plate rack. Looks like I need to make a trip to Hobby Lobby! Darn! ;)
I love it and I am still in LOVE with these chargers!! If I wasn't so cheap I'd buy a whole set!

Wednesday, March 30, 2011

Emergency Kit {A girl on the go's best friend!}

I subscribe to TidyMom's Blog and as soon as I saw her post on making a Girl's Emergency Kit, I knew I had to make one! This is so EASY and Smart! Click on the link for the tutorial to learn how to make your own. It is simply a square potholder with snack size baggies sewn in it, and folded in half. You sew in a ribbon and button closure and you're done!

The baggies are overlapped and a zig zag stitch is run down the middle.
Fill your baggies with whatever you always need, but never seem to have on you. Batteries, floss, safety pins, bandaids {those pesky new-shoe blisters!}, Q-tips, Salonpas heat patches {back pain}, mini hand sanitizer, etc. Stash it in your glove box or purse and you'll never be without something you need again! I'm so excited!

Saturday, February 26, 2011

Easy Spring Wreath!

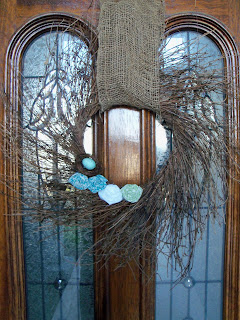
I apologize that I don't have step by step pictures on how I made this. I TOOK the pictures, but they have since vanished! I wanted a easy, but pretty spring wreath for my front door. I went to Hobby Lobby and got this spiral grapevine wreath half off.It was super simple, I picked some scraps of fabric in the "spring-like" colors that I wanted, and made rosettes with my hot glue gun. There are tutorials ALL over blog land on how to make fabric rosettes. If you don't know how just google it and you'll find many options.
I found the little nests at HL too, they were two in a pack, in the floral styrofoam aisle, near the fake birds and butterflies. It was empty, but I hot glued a cute speckled egg from my other Spring decor inside...perfect! I love how simple and elegant it is!

I hung it up with burlap ribbon that my sis-in-law gave me {leftover from the chair backs at the wedding}. I think with the half off the wreath, the whole project cost me less than $10! Score!

Friday, February 25, 2011

Ruffle Flower Wreath and Frame

UPDATE! I figured out what my wreath was missing! I bought this little bird ornament from Hobby Lobby a couple of weeks ago, but didn't know what I was gonna do with it. I looks perfect in my wreath!
It is really pale plue and cream damask print.
NOW it's perfect!

Last week I got a GREAT deal on this whitewashed frame....it was $2! Have I ever mentioned I love Rescued Treasures? Cause I do!My friend, Crafty Christi {I wonder if my friends like or hate that I give them all crafty names when I talk about them on my blog}, showed me this post over at Little Birdie Secrets. This wreath is different, but loosely based on that. I liked making the ruffle flowers so I did them all the same instead of 3 types.
I used an old sheet {back from when I didn't know that KING IS DIFFERENT THAN CAL KING!} that is too small for our bed. To save myself some ruffle making, I noticed that the gathered edge looks suspiciously like a ruffle.
I cut a few inches deep, around the entire edge of the sheet. Then cut them into sections, depending on how big I needed the flowers.

Here it is...a RARELY found perfectly whitewashed and distressed frame for 8 quarters! I used an exacto blade to cut a scrap of cardboard to be my wreath base.You'll never see it.

This is what it looked like on the bottom, after hot glueing as I rolled.
After I ran out of edges, I cut strips of the fabric and made my own ruffles, by stitching down one {don't backstitch} edge and then gathering them. Using the edges of the sheet just saved me from this step for about half of the flowers for this size wreath.

Voila! I tied it with a few layers of jute and hot glued it to the back of the frame. I LOVE it! Not bad for recycled fabric and 8 quarters!

Linking to Tatertots and Jello weekend wrap up party and Crazy Domestic