I am so THRILLED with how this project turned out. You know how sometimes you have a fabulous idea in your head, and then you do it, and it looks like a 5 year old did it? I was afraid that might happen, but I'm happy to say that this turned out to be my favorite project ever. I am still toying with the idea of cutting out a few pieces to take it all the way to the floor, but the plugs and wires are ALL over the wall behind the TV. I think I might just measure long enough to tuck the wood just behind the TV and avoid the plugs. Not sure yet.

I have seen planked walls all over the Internet and have been dying to do one. But I wanted to do it right, so it took me awhile to get all of my ducks in a row.


A friend of mine replaced her fence, so when I asked on Facebook about old wood, she let me know I could have her old stuff for free. I have to admit, it's kind of a messy job working with old wood. First you have to make sure they are safe and don't have termites. Then you have to pressure wash them to get off layers of dirt and spiders. Next, I set them out to dry in the sun.


After the first piece, I enlisted my husband's help because it was too hard to hold the wood above my head and drill at the same time. This project really needs two people if you don't want to end up pulling your hair out. We worked down the left side of the wall, and then went up to the top of the right side and worked down, measuring and cutting each row, as each piece on the left was slightly different.

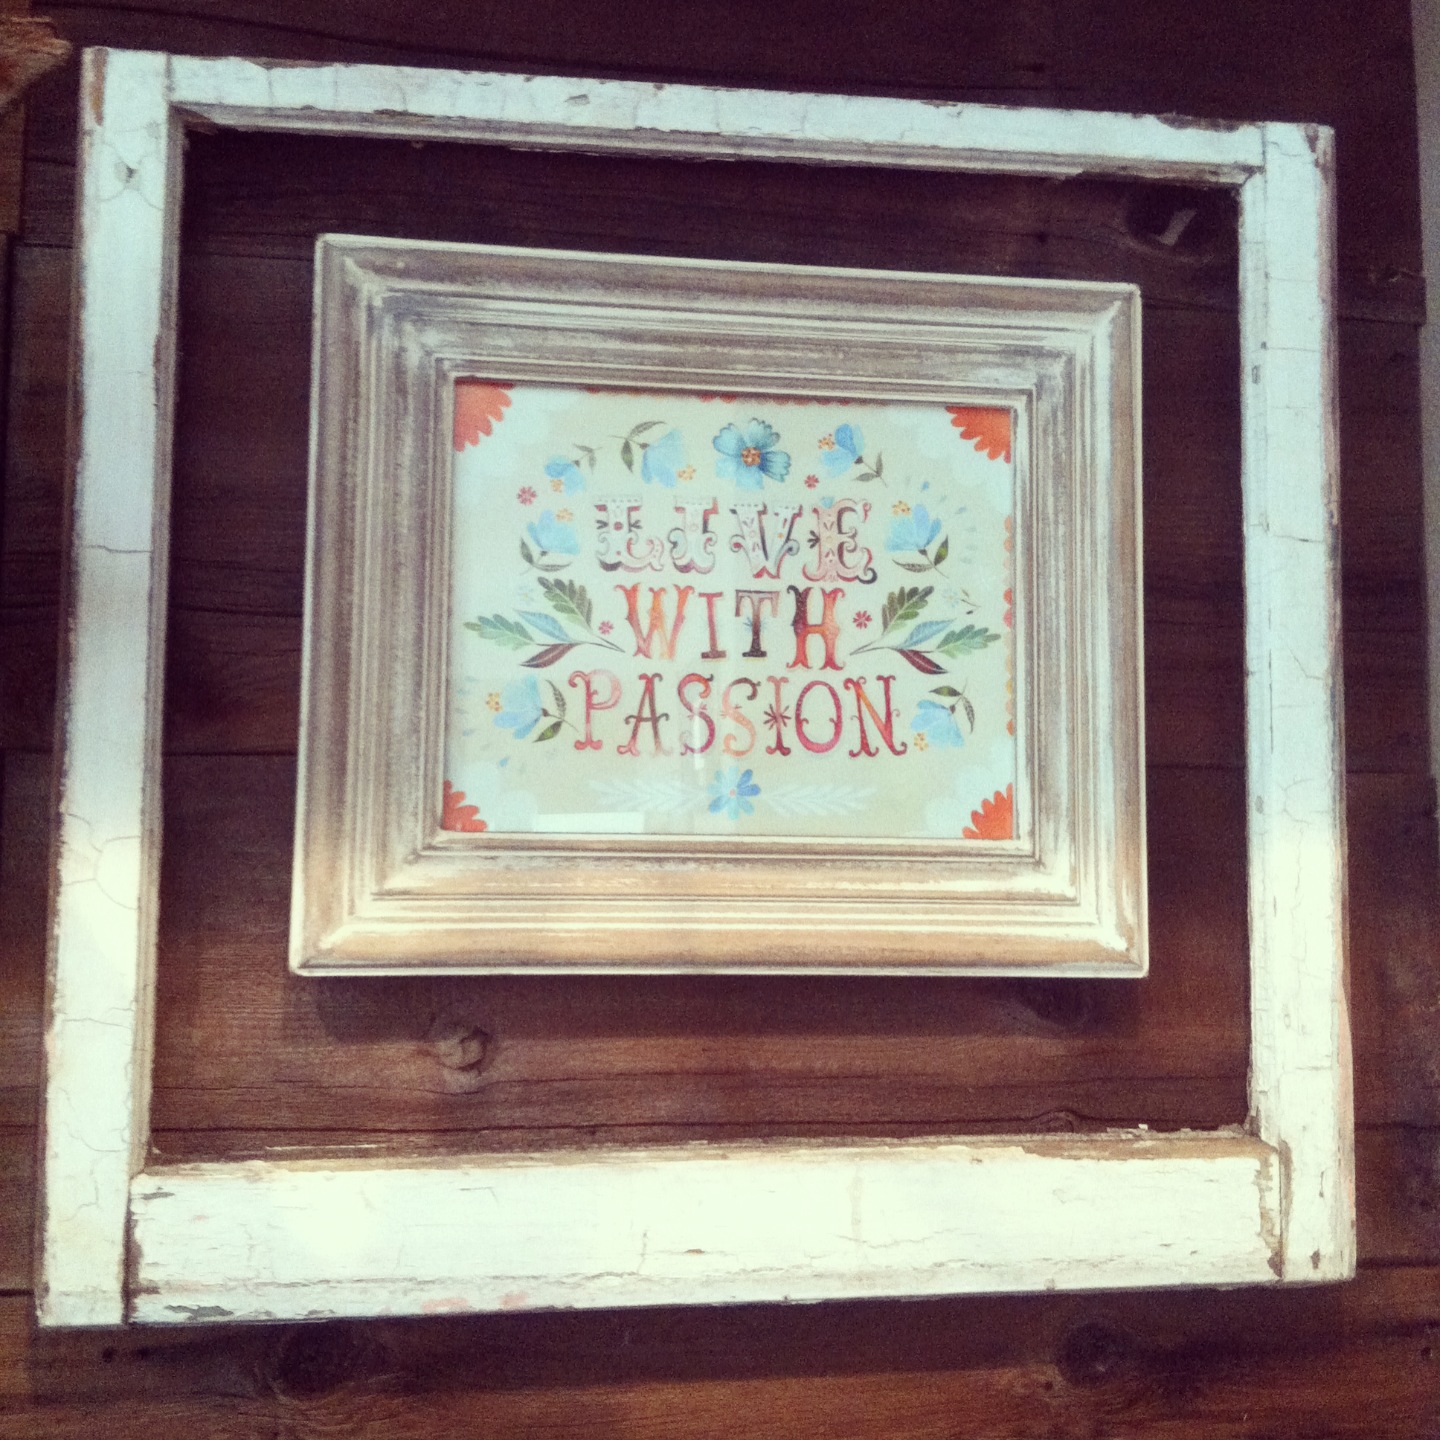
I wanted to really LOVE the art that I would hang up here, since it will be focal point of the room. I kind of wanted them to be family mantras. I looked over SO many of Katie's prints, and went back and forth on my favorites. There are so many that I could have chosen and completely loved. I decided on "Choose Love" and "Live with Passion" because they really sum it all up. When making a choice, the answer should ALWAYS be "choose love". We should never want to choose otherwise, hard as it is sometimes. This seemed like a good daily reminder of where our hearts should be. I chose "Live with Passion" because, well duh... we should live with passion. If not, we're probably doing something wrong, or are wandering about aimlessly. Both very good messages for our family!
Hope you like it as much as I do!
Love it, Jaime. You're so creative and handy with power tools!
ReplyDelete