Showing posts with label rustic. Show all posts

Wednesday, January 25, 2012

Salvaged Board

I have yet another post from my stash of $2 treasure hunt finds. I'm blogging from my iPhone so I hope the pictures aren't TERRIBLY out of order, I can't move them on my blogger app. There were only a few steps: 1) I used an air compressor to blow it off, then wiped it down. 2) the top piece had an extra board on it, but it was a few inches short of the length, so I trimmed it up with my miter saw 3) I measured and drilled in the screws for the decorative piece ($15 on sale at Hobby Lobby)

I noticed that the paint still looked dirty, and I bit too light for me, so I painted it the same Kiwi Kissed as my hutch. To hang it all I had to do was find the studs with my stud finder. I put a dab of toothpaste on each spot, then held the board on the wall. The spots of toothpaste on the board then showed me where to install the D ring hangers. All Done! It looks great but I'm still debating adding antiquing glaze to the decorative edging on the board. We'll see!

Saturday, January 21, 2012

Antique Hutch Re-do

Yesterday I worked ALL day on fixing up my new hutch/cabinet thingy, whatever you wanna call it! Here is a quick side by side before and after! Click here for the before post.Crazy! What a difference a day can make! The picture below is a shot of the inside of the top section, after I painted the interior walls. I decided to use the roll of beadboard wallpaper that I already had to line the shelves.

Super easy fix! Just measure, cut, wet, and smooth it out!
The below picture is the interior of the bottom section. I love that there is a top shelf. I have SO much kitchen crap, you don't even know!

Here is what it looks like after I started filling it and decorating the top. I took a drawer from my top shelf decorating (and it looks fine without it). I just love the look of the natural wood with some areas of white washing, and the beautiful drawer pull I added. Mixing old with pretty just totally does it for me! I flipped it over, so that the stuff on top wouldn't lose a few inches of visibility by being IN the drawer. There was a wooden track on the bottom of the drawer, keeping the stuff from sitting flat, but that was nothing a hammer couldn't remove. ;)
Here is a close up of the inside of one of the doors. It's the easiest way to see that the paint is not solid. The lighting in my dining room make it hard to see in pictures. In case you're wondering, it's called Kiwi Kissed by Olympic, from Lowe's. It looks totally different on the swatch, than on the furniture, if you ask me, but it was the perfect match.
Ok, before and afters...


This is the closure for the top half.


As for the drawers, they were really ugly inside, so I wiped them down and also lined them with the beadboard wallpaper.
One last shot, you can see the tops of chairs because I'm standing on the opposite side of the dining room table. I'd take a room shot, but my table is quite the mess from all of yesterday's work and I haven't taken care of cleaning it off yet. ;)
It is my favorite piece in my house now! It cost $90 (it IS from an antique dealer after all), and less than $3 for the paint sample size (since I only lightly dry brushed over it). I already had the drawer pulls from Restore, and the knobs were probably less than a buck. I also already had the wallpaper and white paint for the interior of the bottom section.

Thursday, January 19, 2012

Old Turquoise Hutch {Before}

I am SO excited! You might look at these pictures and think this thing belongs at the dump, but I see POTENTIAL! ;) I also see lots of kitchen storage! We just got back from picking this up. It needs a lot of help, but as it turns out, I'm quite the helper.The two pieces didn't originally go together, but somewhere along the way, someone married them...and I'm glad they did! Step one is cleaning, which I'll be doing tomorrow while the girls are at elective classes.
I am going to paint the insides of top, bottom, and drawers a shade of antique white.
When driving home, the door on the left flew off from the wind, so I need to perform surgery on it tonight, but it will be fine. ;) I'm going to take the door to Lowe's to have them match the paint. It definitely needs some touching up and covering of the dirt stains that won't wash off. BUT, I like that the paint is not solid, so I think I'll have to water it down so that I can blend it well.
While I was there, I looked through her knob collection and found these two gems! The ones that were on the bottom doors didn't match with the piece.
The above picture is the drawer pull that was on it, I found a matching one, but after deciding to use those top knobs, I wanted to keep them as-is instead of painting them. BUT, these ones I'm not ok with the color. The picture below is a drawer pull that I think I've decided on!
They seem to go better with the distressed look.
Well, here is the "before". Hopefully in a few days I'll be posting the "after". ;)

Sunday, September 25, 2011

A Rustic Wedding

Yesterday was finally the day! I did my first (and last until my kids get married!) wedding. Whew!


My computer is running SUPER slow right now, so I will keep it light on words. Pretty much everything you see in the photos I made from scratch. :)


The welcome area had a homemade chalkboard, my old potting bench, and a huge drawer of fan programs.


Our guest book alternative was a "wedding tree", where the guests would add a fingerprint as "leaves" and sign their name. The bride and groom can frame it and hang it in their home


My talented brother in law sketched the tree for me after I gave him a picture of what I wanted.


I mod podged a engagement picture into a large pickle jar.


The fan programs, with hand-inked edges. (Thanks for your help bridesmaids!)


I bought the french doors from Restore and hinged them together. I LOVE the banners I made out of berlap and lace!!


I made aisle runner sticks by hot gluing apple juice bottles onto them and wrapping with jute.


I bought these slices of wood at Hobby Lobby and made my own stencil with my Silhouette. Then I stenciled them with black paint.


This is the wedding gift I made.
The drawer is also from Restore.


I've been too busy to paint my nails lately. ;) These are the backs of the favors.


The bride picked her flowers and I made all of the bouquets, and arrangements myself. It took HOURS.
The bride had sunflowers, and yellow gerber daisies. The bridesmaids had fall colored gerber daisies, and the junior bridesmaids had lighter colored bouquets.

Emma and Ella earlier in the day.


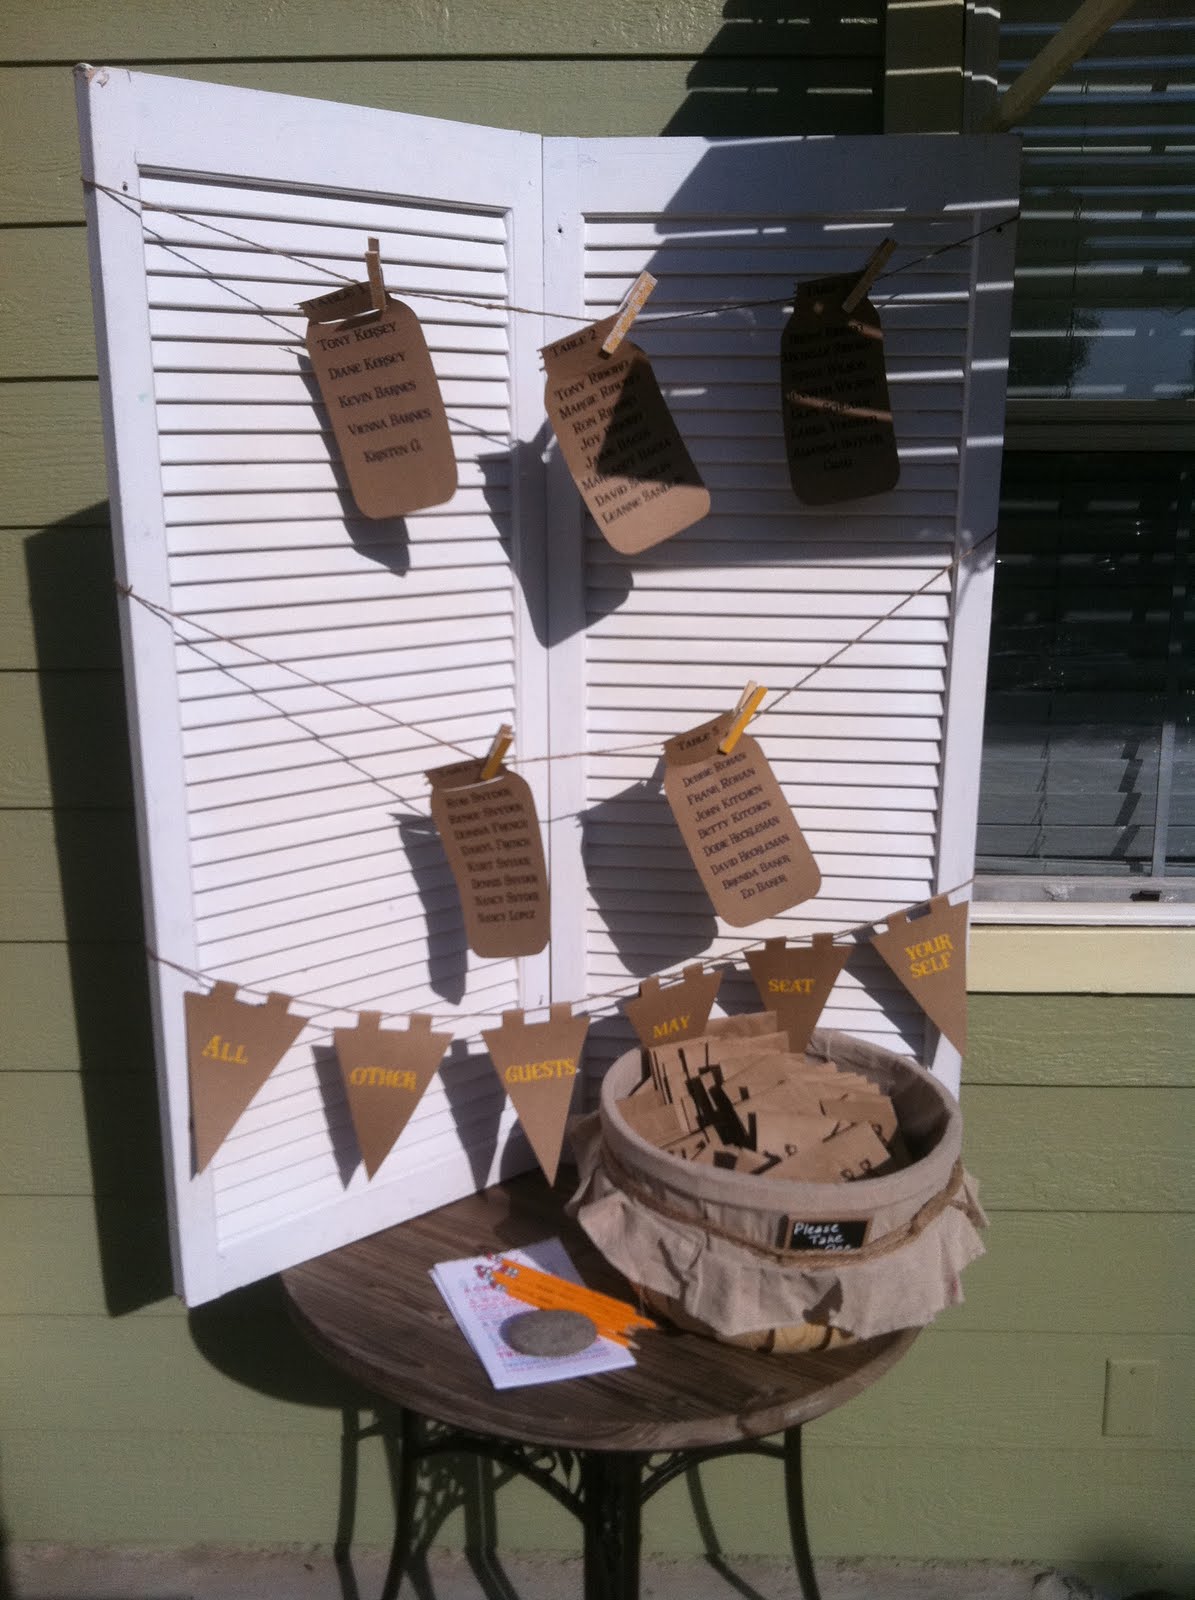
I used shutters for the seating chart. I hinged them together and made banners to string across.


The front of the favors. Inside was sunflower seeds.


I printed wedding I Spy for the kids off of Martha Stewart's website.


The mason jar was the free shape of the week last week from Silhouette!

Table setting. I made each crate for $5 instead of buying old vintage ones for $20+.
I designed menu cards, inked the edges with distressed ink, and wrapped with jute.


Four of the tables had an arrangement of old bottles instead of crates.


All the head table chairs have name banners.


I stained wooden letters for the bride and groom.


I stained boards for the head tables. The jars are awaiting the bouquets when the wedding party arrives.


I made clay circle tags, and let them dry out a few days. Next, I made a stencil with vinyl and painted Mr. and Mrs. SUPER cute!!


This is the kids table. They have chalkboard signs on their chairs.


I used scraps of wood from the crates, stained them, and cut vinyl words.


I ordered chalkboard vinyl and cut labels for the cups.


I LOVE these banners. You would never know they were made out of berlap and Dollar Tree doilies.


Berlap banner that I stenciled with black paint.


THis is my FAVORITE...the wine barrel drink bar! I saw one on pinterest and knew I had to do it. The groom's parents got the wine barrels and I found the solid wood door for $6 at Restore! I made a berlap and lace strip banner for this as well. It adds so much to it!


The table numbers are address numbers on syrup bottles.


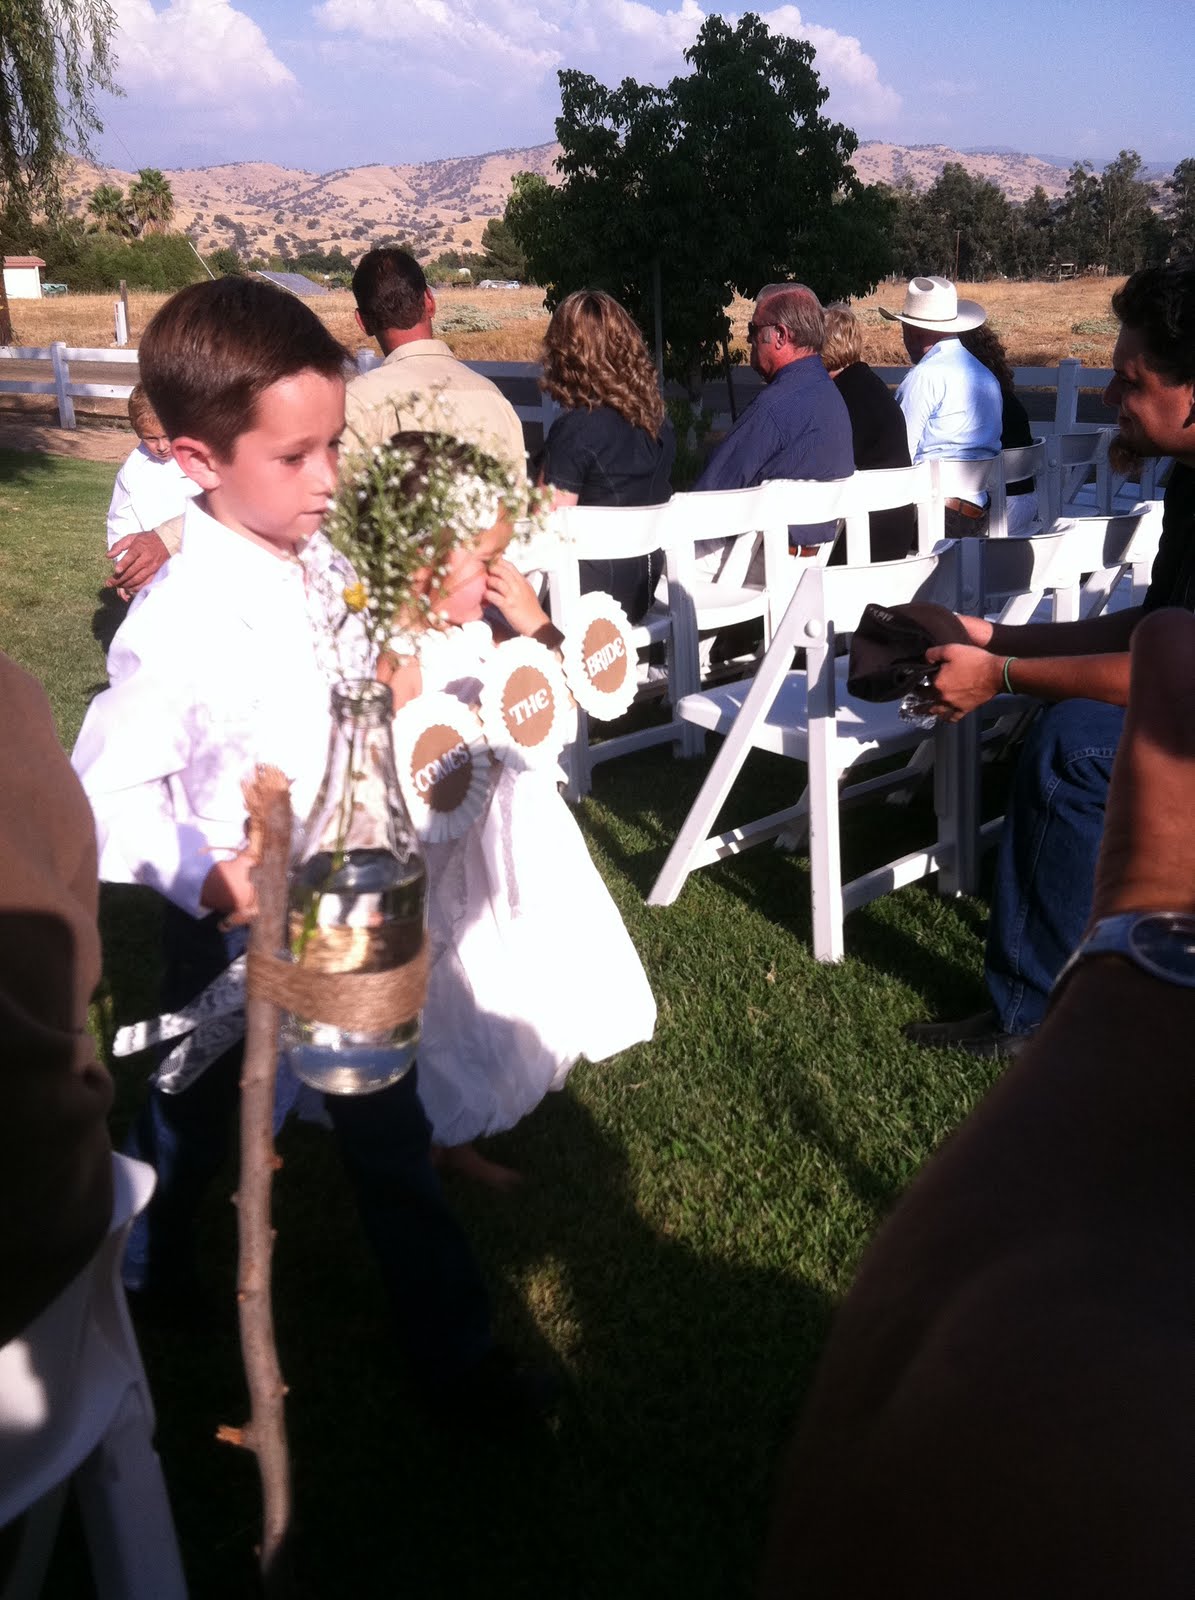
This is a close up of what Caden and Ella carried down the aisle right before the bride walked down. I had a hard time getting a picture because they were walking so fast. ;)
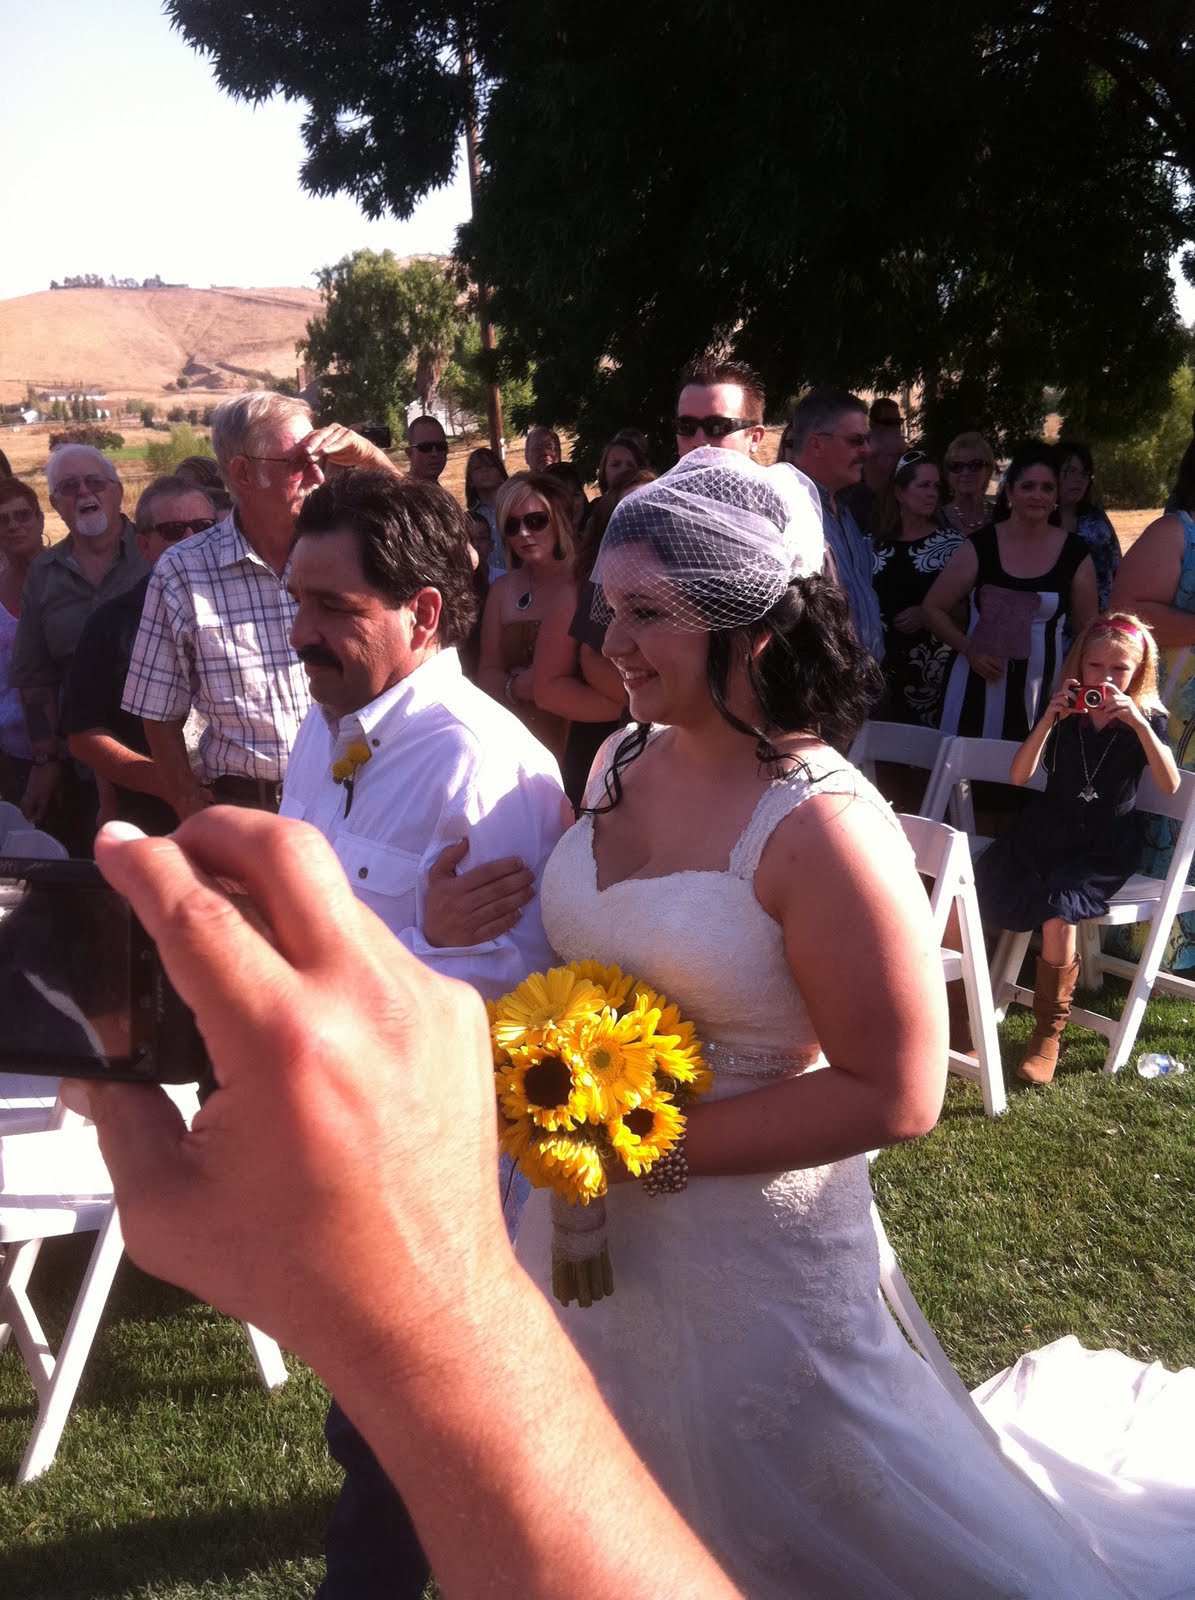




I had the boys set up the hay bales, and I added some mason jar flowers hung from shephard's hooks.


Photo booth fun!


My sister in law set up a fun photo booth.


The bride wanted a small cake for them and cupcakes for everyone else. They ended up doing a cupcake bar and it turned out great!


Isn't this cake lovely? The bride saw a picture of a cake wrapped with berlap (first with wax paper) and my friend Nandie did a FABULOUS job!! I snuck a bite when taking it back in the kitchen too, it tasted WONDERFUL!!!


I made these signs out of scraps from the crates.


I think this picture is HILARIOUS. It was mid-run, when she was going after her new husband for cake revenge! LOL.

Congratulations Megan and David!!