Showing posts with label frames. Show all posts

Tuesday, June 4, 2013

Reclaimed Wood Insert Wall

I am so THRILLED with how this project turned out. You know how sometimes you have a fabulous idea in your head, and then you do it, and it looks like a 5 year old did it? I was afraid that might happen, but I'm happy to say that this turned out to be my favorite project ever. I am still toying with the idea of cutting out a few pieces to take it all the way to the floor, but the plugs and wires are ALL over the wall behind the TV. I think I might just measure long enough to tuck the wood just behind the TV and avoid the plugs. Not sure yet.
I have seen planked walls all over the Internet and have been dying to do one. But I wanted to do it right, so it took me awhile to get all of my ducks in a row. 

 First, I found the old white chippy window frames at a salvage yard in Santa Cruz. I think I paid about $10-$15 for the pair. I like how they look like giant Polaroid frames, with the piece on the bottom slightly bigger. I didn't know what I wanted to do with them, but I knew I'd use them eventually.
A friend of mine replaced her fence, so when I asked on Facebook about old wood, she let me know I could have her old stuff for free. I have to admit, it's kind of a messy job working with old wood. First you have to make sure they are safe and don't have termites. Then you have to pressure wash them to get off layers of dirt and spiders. Next, I set them out to dry in the sun. 
 I used my saw to cut off the top angled piece of the wood. The challenge with cutting this kind of wood, is that some of them are more cracked than others and they can split on you after you cut them. Thankfully I had enough to finish the project. I started this project in the upper left corner of the insert wall, pre-drilling holes to prevent the wood from splitting, and making sure the wood screws went into the studs into the walls.
After the first piece, I enlisted my husband's help because it was too hard to hold the wood above my head and drill at the same time. This project really needs two people if you don't want to end up pulling your hair out. We worked down the left side of the wall, and then went up to the top of the right side and worked down, measuring and cutting each row, as each piece on the left was slightly different. 
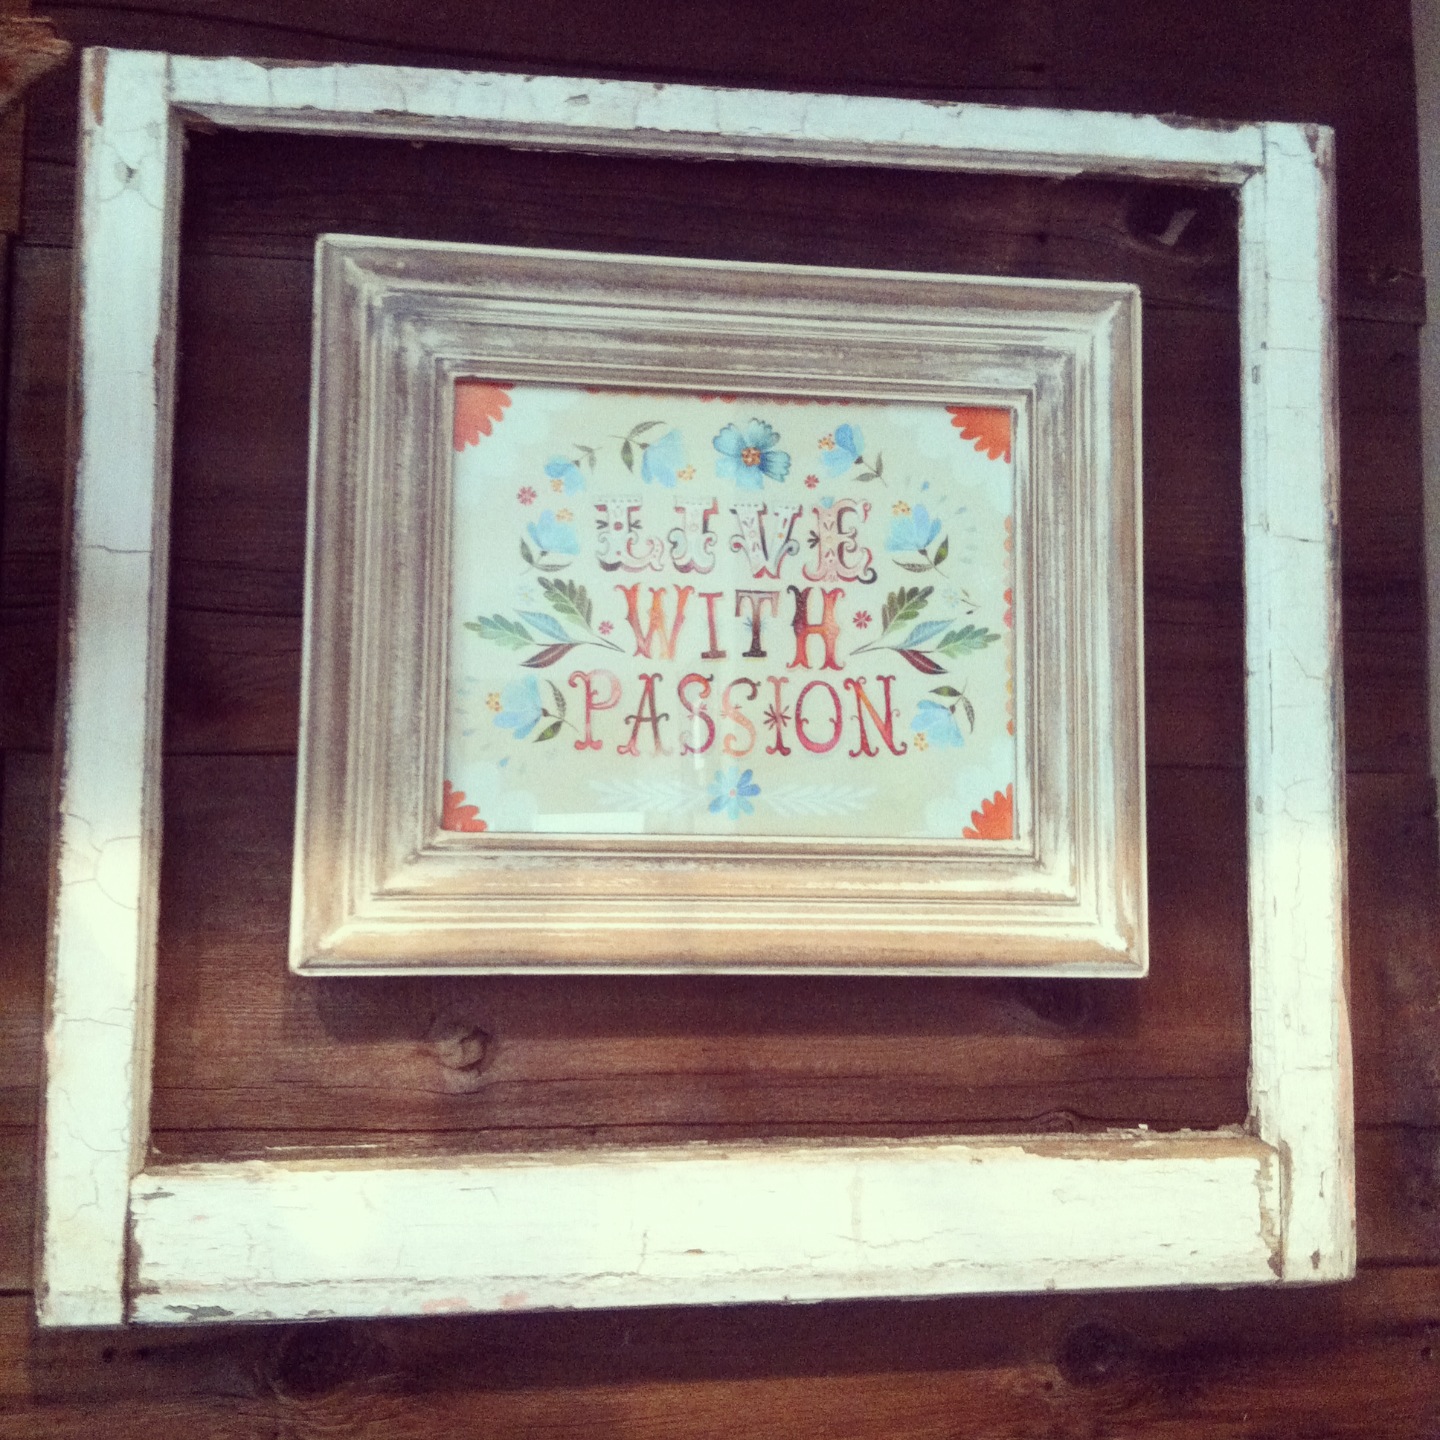
 My husband has been wanting his deer in the house for MANY, many years, but I've never found a spot where I thought it wouldn't look out of place. Next, I hung up my old window frames. They don't have glass in them, so they're just empty wooden frames.
 Inside each frame, I hung up my 11x14 art prints from The Wheatfield, by Katie Daisy. I knew that since the windows were so big, the art needed to be substantial size so that they wouldn't look shrunken in the frame. I used a coupon and bought these two frames from World Market that I fell in love with a couple of weeks ago. They go PERFECTLY here! World Market has seriously stepped up their game, I could spend a fortune in there if I had one!

I wanted to really LOVE the art that I would hang up here, since it will be focal point of the room. I kind of wanted them to be family mantras. I looked over SO many of Katie's prints, and went back and forth on my favorites. There are so many that I could have chosen and completely loved. I decided on "Choose Love" and "Live with Passion" because they really sum it all up. When making a choice, the answer should ALWAYS be "choose love". We should never want to choose otherwise, hard as it is sometimes. This seemed like a good daily reminder of where our hearts should be. I chose "Live with Passion" because, well duh... we should live with passion. If not, we're probably doing something wrong, or are wandering about aimlessly. Both very good messages for our family!

Hope you like it as much as I do!

Friday, May 10, 2013

Vintage Revamp with Crate Shelf DIY

I've been thinking about changing a few things up in my house lately. Actually, I've started a list for summer projects. Planking the inset wall behind the tv is at the top of the list, and my mess of a bedroom is a close second! 

This week has kind of made me stir crazy. I was sick over the weekend and it was so terrible that it left me really weak for the first half of the week. Then one of my daughters got it, and now my other daughter might have it. We've had lots of movies and what seems like non-stop couch time.

I decided today that I would use my time cooped up at home to make a few changes with stuff I already had. 
 First up, I wanted to mount this BIG (it's much bigger than it looks in the photo) crate on the wall as a shelf. The problem was, there was a phone jack mounted to the wall here. We don't even HAVE a home phone anymore because we just use our cell phones.

I decided to try to remove it. In the past, I just covered it up with various things that didn't have to sit flush to the wall. It was easier than I thought!

I used long screws and a stud finder to mount the shelf securely to the wall. You find studs in the strangest places when hanging heavy things, so my screws are actually dead center through the crate back wall. If my metal tray wasn't in the photo, you would see the screws.  I bought that huge frame at a junker's paradise in Capitola. The cream chalkboard I'd made awhile back and never used.

 I then started pulling stuff from other places in the house to arrange the crate. It's tall so it looks weird if there isn't color going up high inside it. I planted some succulents in an old floral tin that I thrifted last week.
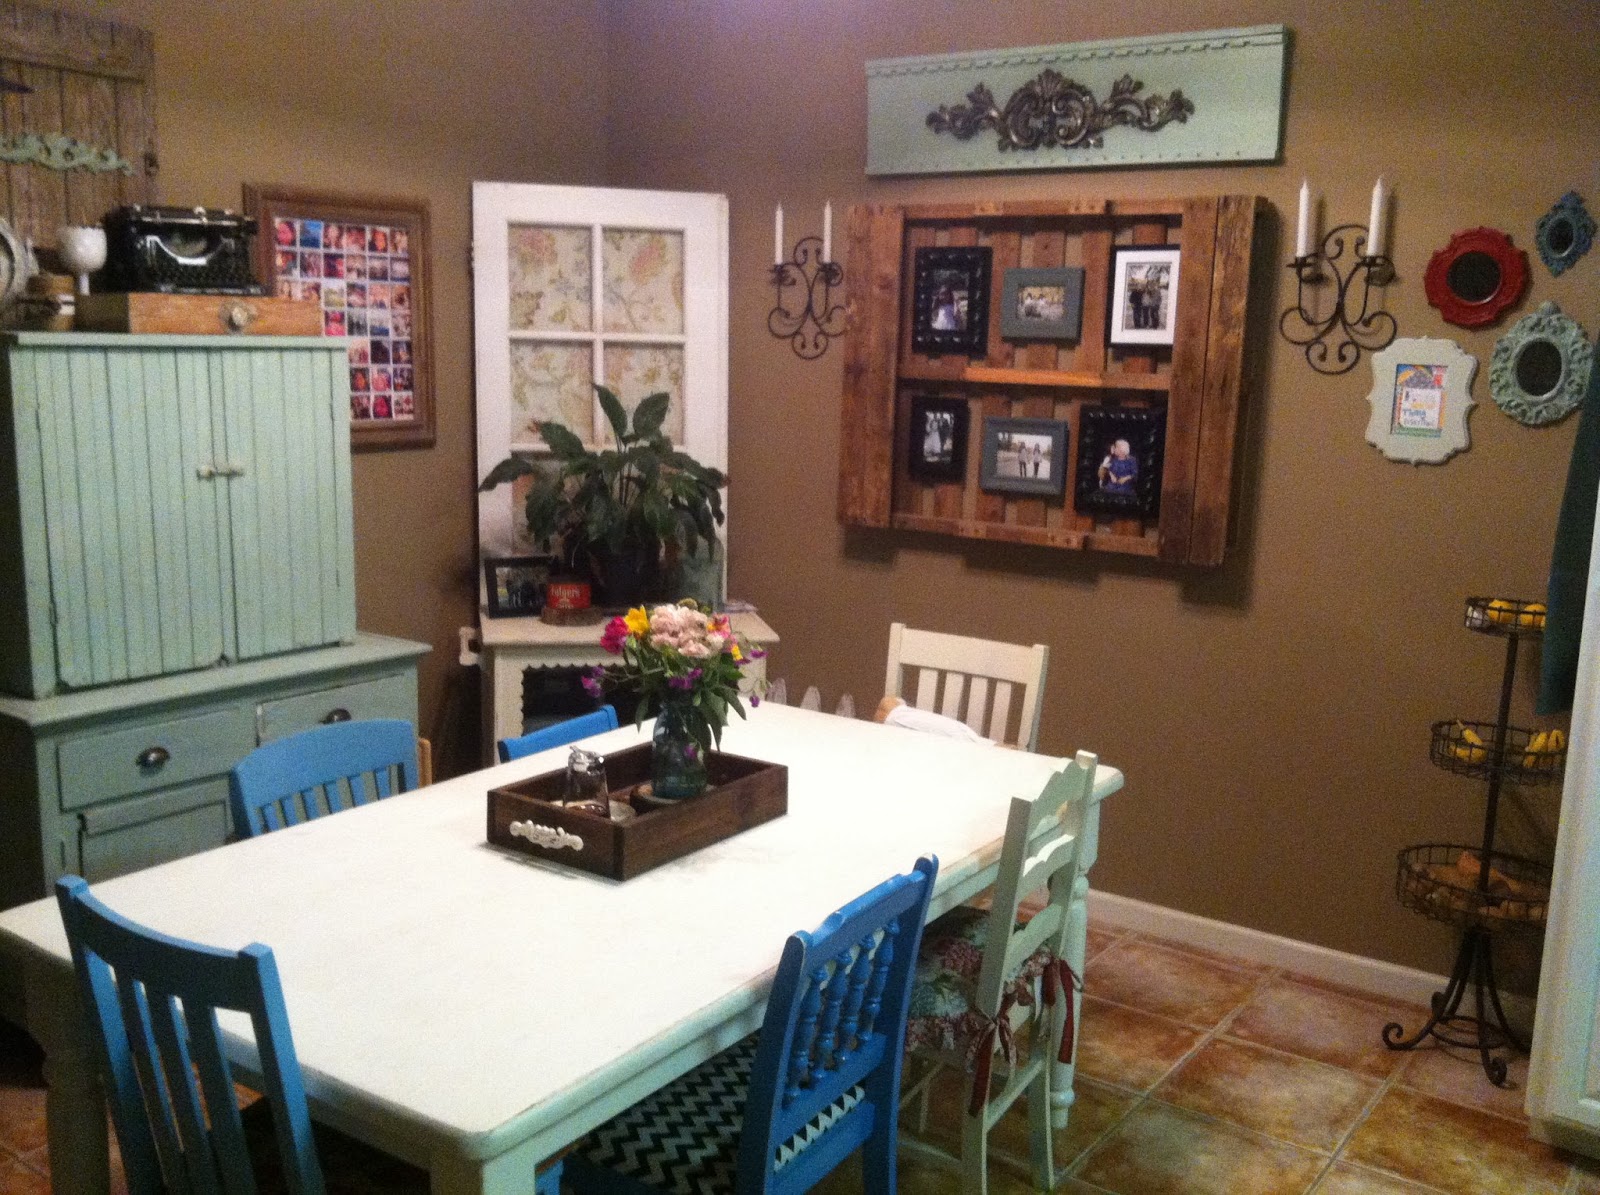
 Here's kind of a wide angle of my dining room. It's actually bigger than it looks, so I guess I didn't stand far enough back.
 I scored some old glass milk bottles at a yard sale last week and they came in this small crate. I turned it on its side and put it on the kitchen counter. I found that cute little blue jar at World Market and I use it to store my chia seeds for smoothies.
 I bought this little old mint tin at a thrift store a couple of weeks ago. It makes the perfect quirky planter for a succulent.

I feel like I'm finally starting to make my house look the way I feel on the inside. It might be a little strange to some people, but I just LOVE old stuff mixed with new. You don't have to wait around for your bank account to allow for you to make your house the way YOU want it. You just have to think outside the box.

Sunday, July 8, 2012

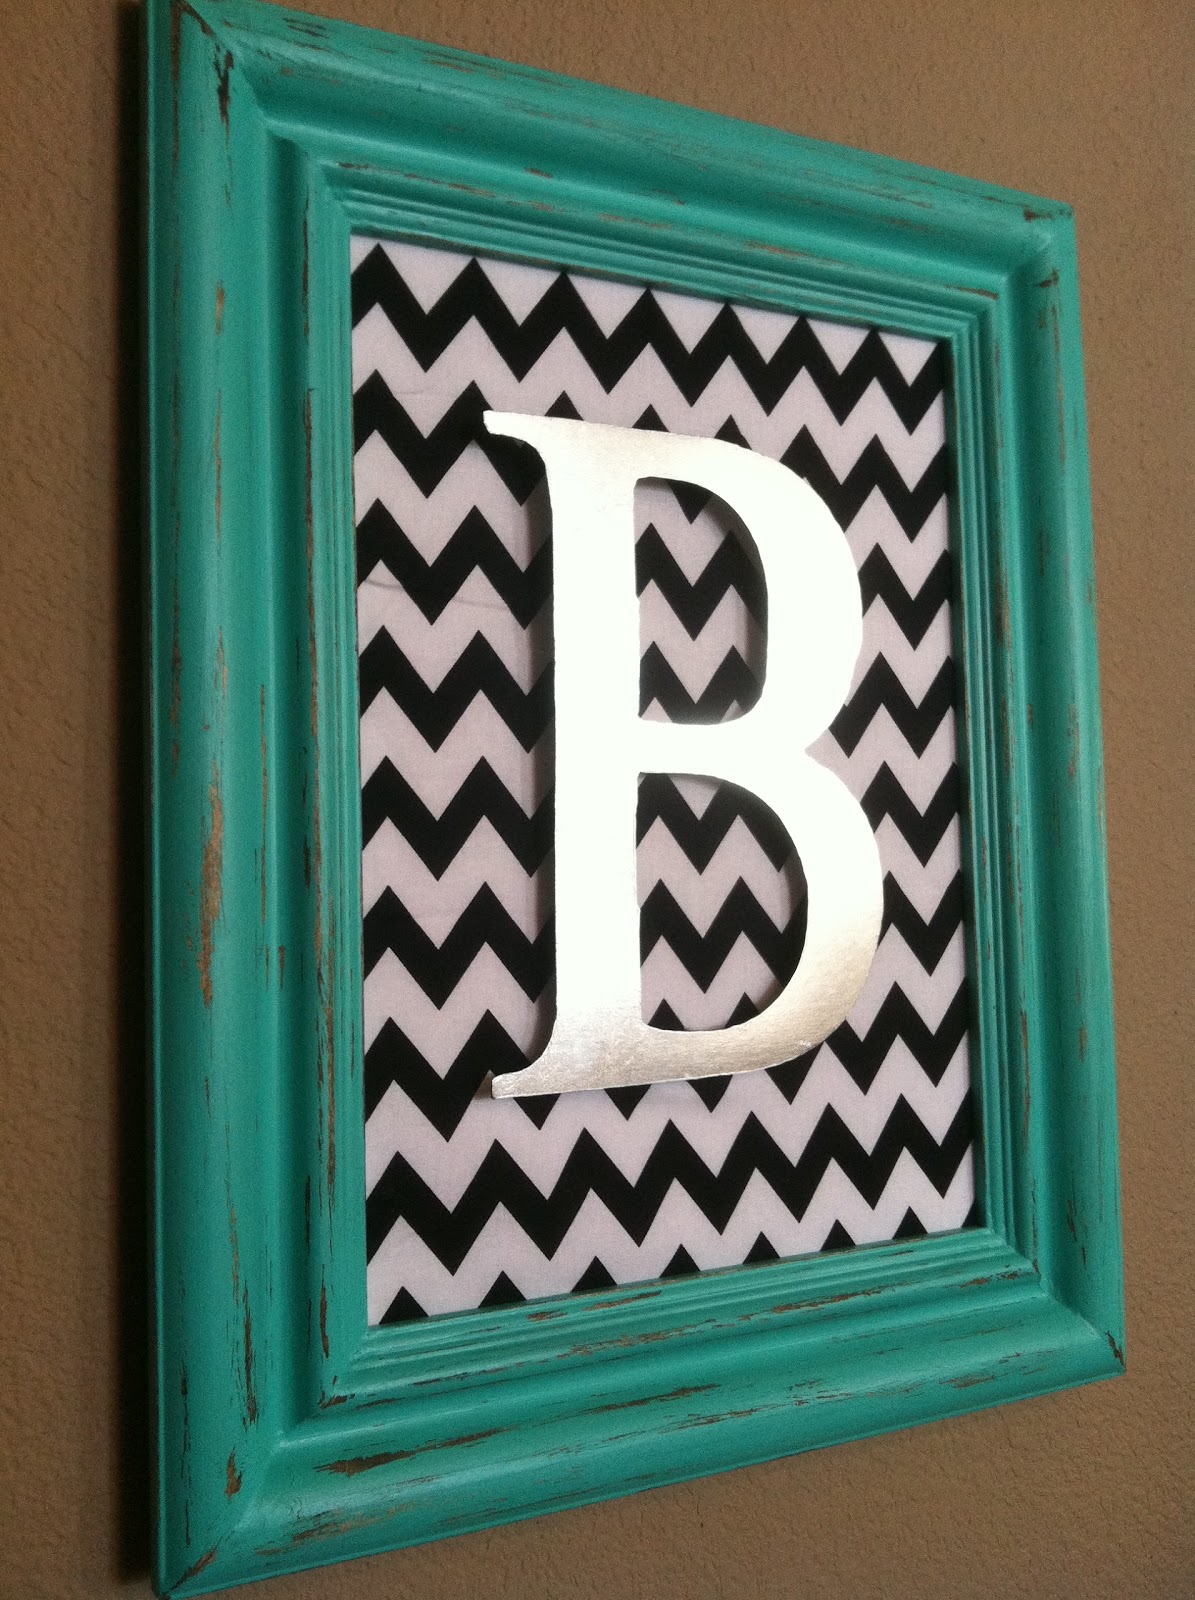
Aqua Distressed Monogram Frame {Vaseline Method}

UPDATE! I'm now gradually making these and adding them to my Etsy shop, Distressed Beautiful. Check out the sidebar! You can request your color and letter...wait until you see the red too! The Etsy version might be a slightly different shape of frame moulding, depending on availability (see the pictures on Etsy), and the letter is not on "spacers" so that it won't risk breaking off during shipping. 

Today I completed one of my favorite projects ever! Last week I received my large metal letter in the mail. It was a Groopdealz, for $4.50. Surprisingly, I didn't have any thrift store frames on hand to paint, so I decided to try to make one. 
 I had leftover trim boards from framing my bathroom mirror last week. I had enough to make a 16x20 frame. Having a laser on my saw makes this the easiest thing ever! I lightly sanded any rough edges on the cut ends.
 I used Gorilla wood glue to hold it together and taped it in place.

Friday, June 29, 2012

Living Room Wall Update {Indoor Shutters and New Frames}

Yesterday I decided to do something about my hodge podge living room wall. If you look at the picture below, you'll see what it used to be. Forgive the poor picture quality, because of all of the high windows in my house, it's hard to get a good picture during the day. 
First, I realized that I had wooden shutters that I could put up next to the window. These used to be the headboard in Cami's room. I have been working on moving the school room, and giving Emma her own room. Long story short, Emma got the queen bed, but didn't want the shutters as her headboard. I'll post about the new rooms when I get them done. 
I added these two pieces because it felt like it should be symmetrical after I put up the shutters.

 Last week I picked up these two large frames for less than $3 each. Rescued Treasures was having a 50% sale on their frames.
 I didn't know what I wanted to put in the center, but I decided on these wooden detail pieces from Lowe's that were about $5 each.
 The inside of these frames are 11x14. They didn't come with a backing, so I had to make one.

 I cut a thin piece of plywood to fit, and stained one side.I secured them with a staple gun. Since I used this cheap plywood, when I stained it, it resembled old wood paneling (think 70's). I didn't like it, so in the pictures you see, I went back and added burlap, so that you can just see a border of the dark wood.


It has made my living room not look so hodge podge. That wall had looked unplanned, and now it looks like someone actually thought about it.

Saturday, June 16, 2012

Colorful Distressed Frames

I've realized recently that my house has become too turquoise. I have resolved to add more colors, and refrain from adding TOO much of one color, hard as it is for me. I found six of these wood frames for $1.48 each at Rescued Treasures. I bought them all and headed to Lowe's for paint.One of the colors I've decided I need to add is red. It goes well with turquoise. Have you been to the Lowe's paint department lately? They have a display of some beautiful color samples, already mixed up and ready to go. Great for projects! The dark one is Gypsy Teal (pre-mixed section), the lighter one is Tantalizing Teal, and Heirloom Red, all Valspar. I gave them each about 3 good coats, and then used a 3M sanding sponge to distress the edges.

 I love the way they look distressed. They didn't come with any backing, so I cut a piece of foam board into 5x7 pieces and covered them with black and white chevron paper from Hobby Lobby. Last, I used E6000 glue to add the clips from Wal-Mart. I hammered in sawtooth picture hangers, and voila!
 Hanging them was easy! Have you ever used the toothpaste method? You put a tiny dab of toothpaste on the back of the frame, where the nail will be, and then push the frame up against the wall where you want it. The dab of paste sticks to the wall and shows you exactly where to hammer in your nail. :)
 I love the pop of color that these frames have added to my living room!

Thursday, June 23, 2011

Framed Chalkboards

I'm going to do something different and show you the "after" pictures first, then the "before". I didn't take pictures of the steps, but it's SO simple! For this one with a canvas painting, I simply painted over it with 4-5 coats of chalkboard paint, letting it dry in between coats. Since this is only going to be used for decor, not a functional everyday use, I don't mind that it's canvas instead of a hard board. Here is the next set. On this one, I cut off the brown paper backing and bent back the big staples holding the print and glass inside. I threw away the glass and since this board was completely smooth, I used it to paint the chalkboard on directly. I spray painted the frame Heirloom White. I am SO tempted to paint a red frame, but since these are my first large chalkboards, I wanted ones that could match more parties.


There you go... super easy and inexpensive! One little jar of chalkboard paint has lasted me over a year, from my first chalkboards!

Wednesday, June 22, 2011

Thrifty Frames

This morning I hit up Rescued Treasures in search of some large frames that I could transform into chalkboards for the upcoming wedding/parties I'm doing. I've seen a lot on pinterest that got me inspired. I love the detail of this old one. Cost=$9.88


This long one was $12.96. I think those will both make great chalkboards once I paint them!

This deal I found for myself and am keeping as-is! I have been looking for a long skinny frame for my frame wall for months and this one was $14.96! It is SO heavy! I LOVE the detail on it!