Showing posts with label 4th of July. Show all posts

Wednesday, June 4, 2014

June Update

I realized it has been a LONG time since I've updated the blog. I've found that it is on the bottom of my list these days, and that's ok. Life is just too crazy to keep up with everything. I'm just gonna share a few photos of what I've been up to recently.
I've updated my shelf for the Fourth of July. This is my substitute for a mantle. I just pulled together a couple of past crafts (fireworks and flag blocks), and added a few vintage things that I already had. I used a roll of wide burlap and added some flags, super easy. I love adding old tins and greenery to almost everything now.
 I've been taking a yoga basics class at a great studio for about a month and a half. My absolute favorite thing to practice is inversions. I like having someone snap a photo, or setting the timer on my phone, so that I can see my form improve over time. I can't wait until I can do this and have legs that are completely flat, not in a V shape. I can't believe the difference that just these several classes have made in gaining strength and balance. I really can't do most cardio, because I want to be kind to my prosthetic knee. My surgeon told me not to run, so while it feels like the whole world is out conquering the world one mile at a time, I'm just working on perfecting my form. It turns out that this is exactly what my body needs.
 Last week, I took my kids to class with me, and they liked it! I don't know that they will go with me every time, because that would get expensive. It's such good practice for them though, so I'm glad that they ask to come. The sweat literally pours off of us. If you are doing yoga correctly, it is SO much harder than it looks.
 Our girls graduated from 3rd and 4th grade last week! I can't believe we have finished our fourth year of homeschool! This year literally FLEW by.
 Our wonderful teacher is retiring this year, and we are so grateful for all she has taught us. She means the world to us! Several weeks ago we decided that we are going to try independent homeschool in the fall. This will be our first year completely on our own. I'm nervous but excited at the same time. My summer will be full of a lot of curriculum research and planning for the fall, as this will be the first time that the materials aren't just handed to me.
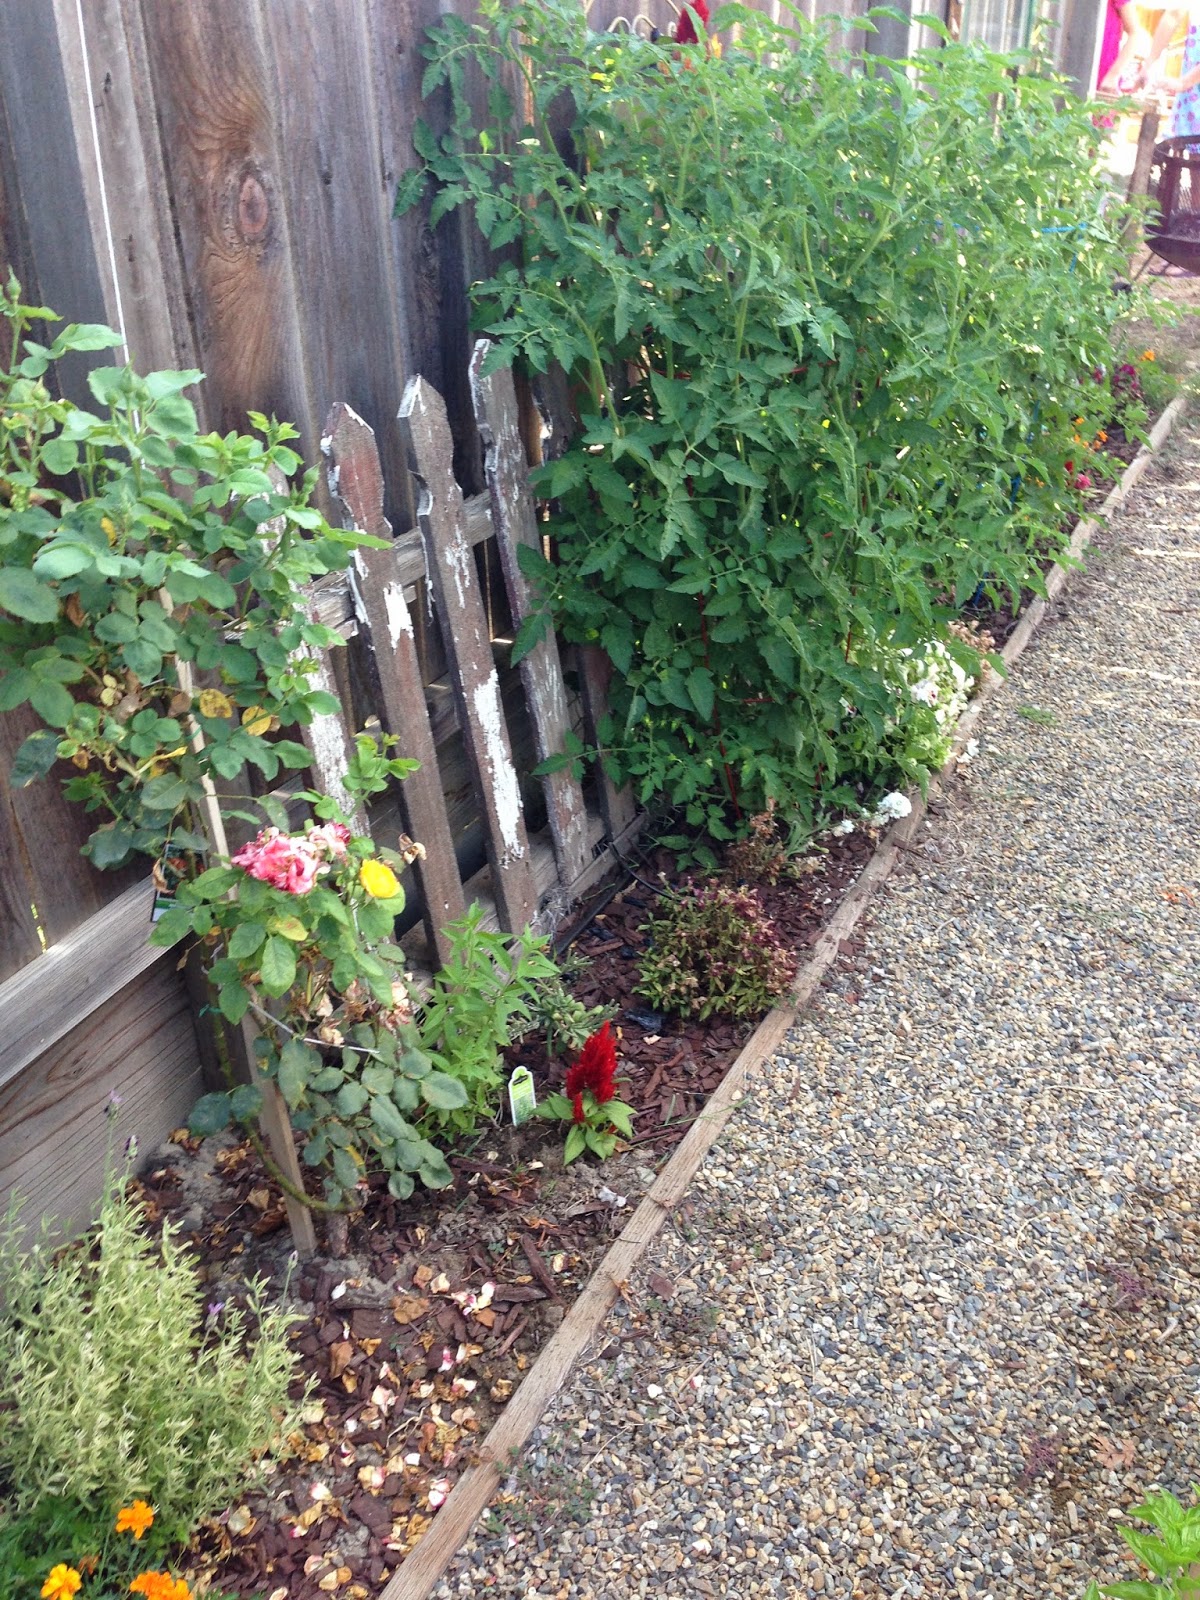
We are LOVING our garden. The growth has been amazing. 
 We also got a new rabbit. Her name is Hazelnut, and sometimes we call her Hazel. She's the first gentle and non-skittish rabbit we've ever had.
 The harvesting has begun in parts of our garden. Some things will take some more time, but I love going out to check on the changes every day.
I'm ready to enjoy the summer!

Wednesday, June 22, 2011

Firecrackers!

I saw firecrackers on Pick Your Plum a couple of weeks ago and knew I had to make some! I cut my wood different heights, sanded the ends, and drilled a hole in the top for the "fuse".

I decided I would mod podge mine instead of painting them. I cut my strips of paper just slightly smaller than the wood.


Simply mod podge them on {under the paper, and on top-for those of you who are new to mod podge} and let them dry! I put a layer of mod podge on the top face of the blocks, and stuck in a piece of jute twine. It will dry that way as long as you get some mod podge in the hole.

After they're dry, group them together and tie with twine. :)

Thursday, July 1, 2010

A little goes a long way!

I just wanted to show that a little bit can go a long way when it comes to appearance! These are chocolate chip, red, white and blue m&m cookies. When walking through the $1 section at Target last week I found 3 of these little stick flags for $1. I spent $3 and got 9 flags. Plain cello bags, and some (recycled!) blue ribbon, with a flag tucked in the bow makes it so much cuter than just plain old cookies. I am hoping this means they will sell for more $$ at the bake sale!
I just used the Toll House recipe and did half chocolate chips and half m&ms. Add 1/4 -1/2 cup extra flour to make them a little fluffier. =)

Tuesday, June 29, 2010

Dipped Oreos

I learned how to make dipped Oreos from my supercali-craftalistic-expealidocious (don't have a heart attack Dana, I know that's totally spelled wrong. haha) friend, Sheri. She made cookie bouquets out of them for a holiday. I made them this past Valentine's Day in red, pink and white, with tiny heart sprinkles on them. They are super cute, and adaptable to your theme, holiday or colors. The first time I made them, they were kinda difficult. I bought double stuffed oreos to have extra room for the sucker stick. A lot of them broke, I don't know if I just bought a really breakable package or what. This time I am using regular oreos and popsicle sticks, just because that's what I have on hand, and the popsicle sticks are thinner.Here we go... First, twist open your cookie. Gently slide in the stick from the outside to a little bit past the center and lift the filling out.
Replace the stick in the goove where you removed the filling and it should be completely level. Replace the other half of the cookie and hold it in place while you, using a small spaula or knife, spread some melted Wilton candy disks on one side.

Lay it down on a cookie sheet that has been covered with wax paper.

Next, you will need to add more to the top and also coat around the sides of the cookie, while using your other hand to hold the stick in place. Once it is all coated, you add the sprinkle of your choice...

This is what they will look like. Allow to fully dry.

Peel off the wax paper and wrap how you choose. I have the clear bags from Michaels and decided to tie with a ribbon instead of using the twist ties. Give out one by one, or you can arrange a cookie bouquet. Enjoy! =)

4th of July Cookie Bark

I was introduced to cookie bark by my friend Trish, when she made some for Halloween last year. It is SO good! The only difference is I used red, white and blue M&Ms instead of candy corn. This can be changed up to match any holiday. I made some for Easter this year with pastel candy corn and pastel sprinkles.I had these cello bags already, and cut some tags on my cricut this morning to add some extra "cuteness" to the bags.
To start off, line a cookie sheet with waxed paper. Spread out some pretzels on the wax paper.

Next, break up some Oreos (I quartered them) and spread around the pan.

Next, I added red, white and blue M&Ms.

Microwave white Wilton candy melts (available at JoAnns and Michaels) and pour on top. It will take two bags of candy melts to do one big cookie sheet. You have to use a spatula and stir it around a bit so that it all gets coated and is all connected.

The last thing you need to add, is sprinkles on the top. I used of course...4th of July sprinkles.
Allow to dry and harden completely, a few hours. Then you just pull up on the wax paper and break it up in pieces.
This is the star tag that the handy dandy Cricut did for me.

I remembered that I bought a Close to my Heart stamp set from a garage sale and found several stamps I could use on plain tags. I cut out plain white cardstock tags with my cricut and tried some stamps out.


Just try not to eat it all when you are breaking it up and bagging it! It is so yummy and makes cute little treats!