Showing posts with label window. Show all posts

Thursday, January 22, 2015

Upcycled Greenhouse From Old Windows and Doors.

I don't even know where to begin, my excitement over this project is out of control. Winter has had me itching for spring planting. The days of picking vegetables in the winter are few and far between, at least in my first little winter garden. I ordered my seeds from Seed Savers Exchange, and I'm counting down to when it's warm enough to start my seeds!
 I needed a "greenhouse" of sorts, and there was pretty much nothing that was going to stop my determination. 
Husband at work?
Oh well. 
Drill batteries dead? 
Charge those suckers up.
 Case in point, the photo above, that I thought to stop and snap while the battery was charging on the saw. This door has been in our storage trailer for years. It's solid wood, and I knew I'd use it someday for something. I decided the height I wanted, and the angle for the top, and cut my two side pieces out of this door. 
Next, I used an old french door (glass still in tact, holllllaaa!) as my front, and screwed them together with long wood screws. This seemed a heck of a lot easier than framing up the entire thing out of wood, then covering the front with individual wood slats. Plus, it's super cute and adds more sunlight! 

Next, I just measured, cut, and screwed in the four framing pieces you see around the top edges. This gave me something to rest and hinge the windows on.

I'm still debating on what to do on the inside, because I know the grass will grow. I am leaning toward pinning down thick black plastic, and topping with tiny gravel, like in our garden.
 All I had to buy were four hinges, a couple of hooks, and a small length of chain. 

The hooks are on the fence, and the chain loops are screwed to the center of each window. Simply lift the window, and hook the chain to the fence to work inside. Ahh! You can tell I'm super proud of this one! Now I have to figure out what to put on the walls of my house, where I removed those decorative windows. 

Tuesday, June 4, 2013

Reclaimed Wood Insert Wall

I am so THRILLED with how this project turned out. You know how sometimes you have a fabulous idea in your head, and then you do it, and it looks like a 5 year old did it? I was afraid that might happen, but I'm happy to say that this turned out to be my favorite project ever. I am still toying with the idea of cutting out a few pieces to take it all the way to the floor, but the plugs and wires are ALL over the wall behind the TV. I think I might just measure long enough to tuck the wood just behind the TV and avoid the plugs. Not sure yet.
I have seen planked walls all over the Internet and have been dying to do one. But I wanted to do it right, so it took me awhile to get all of my ducks in a row. 

 First, I found the old white chippy window frames at a salvage yard in Santa Cruz. I think I paid about $10-$15 for the pair. I like how they look like giant Polaroid frames, with the piece on the bottom slightly bigger. I didn't know what I wanted to do with them, but I knew I'd use them eventually.
A friend of mine replaced her fence, so when I asked on Facebook about old wood, she let me know I could have her old stuff for free. I have to admit, it's kind of a messy job working with old wood. First you have to make sure they are safe and don't have termites. Then you have to pressure wash them to get off layers of dirt and spiders. Next, I set them out to dry in the sun. 
 I used my saw to cut off the top angled piece of the wood. The challenge with cutting this kind of wood, is that some of them are more cracked than others and they can split on you after you cut them. Thankfully I had enough to finish the project. I started this project in the upper left corner of the insert wall, pre-drilling holes to prevent the wood from splitting, and making sure the wood screws went into the studs into the walls.
After the first piece, I enlisted my husband's help because it was too hard to hold the wood above my head and drill at the same time. This project really needs two people if you don't want to end up pulling your hair out. We worked down the left side of the wall, and then went up to the top of the right side and worked down, measuring and cutting each row, as each piece on the left was slightly different. 
 My husband has been wanting his deer in the house for MANY, many years, but I've never found a spot where I thought it wouldn't look out of place. Next, I hung up my old window frames. They don't have glass in them, so they're just empty wooden frames.
 Inside each frame, I hung up my 11x14 art prints from The Wheatfield, by Katie Daisy. I knew that since the windows were so big, the art needed to be substantial size so that they wouldn't look shrunken in the frame. I used a coupon and bought these two frames from World Market that I fell in love with a couple of weeks ago. They go PERFECTLY here! World Market has seriously stepped up their game, I could spend a fortune in there if I had one!

I wanted to really LOVE the art that I would hang up here, since it will be focal point of the room. I kind of wanted them to be family mantras. I looked over SO many of Katie's prints, and went back and forth on my favorites. There are so many that I could have chosen and completely loved. I decided on "Choose Love" and "Live with Passion" because they really sum it all up. When making a choice, the answer should ALWAYS be "choose love". We should never want to choose otherwise, hard as it is sometimes. This seemed like a good daily reminder of where our hearts should be. I chose "Live with Passion" because, well duh... we should live with passion. If not, we're probably doing something wrong, or are wandering about aimlessly. Both very good messages for our family!

Hope you like it as much as I do!

Saturday, July 16, 2011

Green River Window

A couple of friends told me about a place a short drive out of town that has lots of "treasures". I decided it was time I checked it out yesterday! It's called Grandpa's Place. Well, let me just say I've never seen such a pile of stuff! You have to wear your "trash digging" clothes and prepare to spend some time walking and searching through the rooms and rooms of stuff! BUT it was CHEAP! I was a little scared because there wasn't a price on anything. I asked how we know how much it is and they said the bigger the pile, the better the deal. You take all your stuff up to the counter and the gal gives you a price. Strange. I scored this old window with a cute edge that kind of resembles a ruffle. 
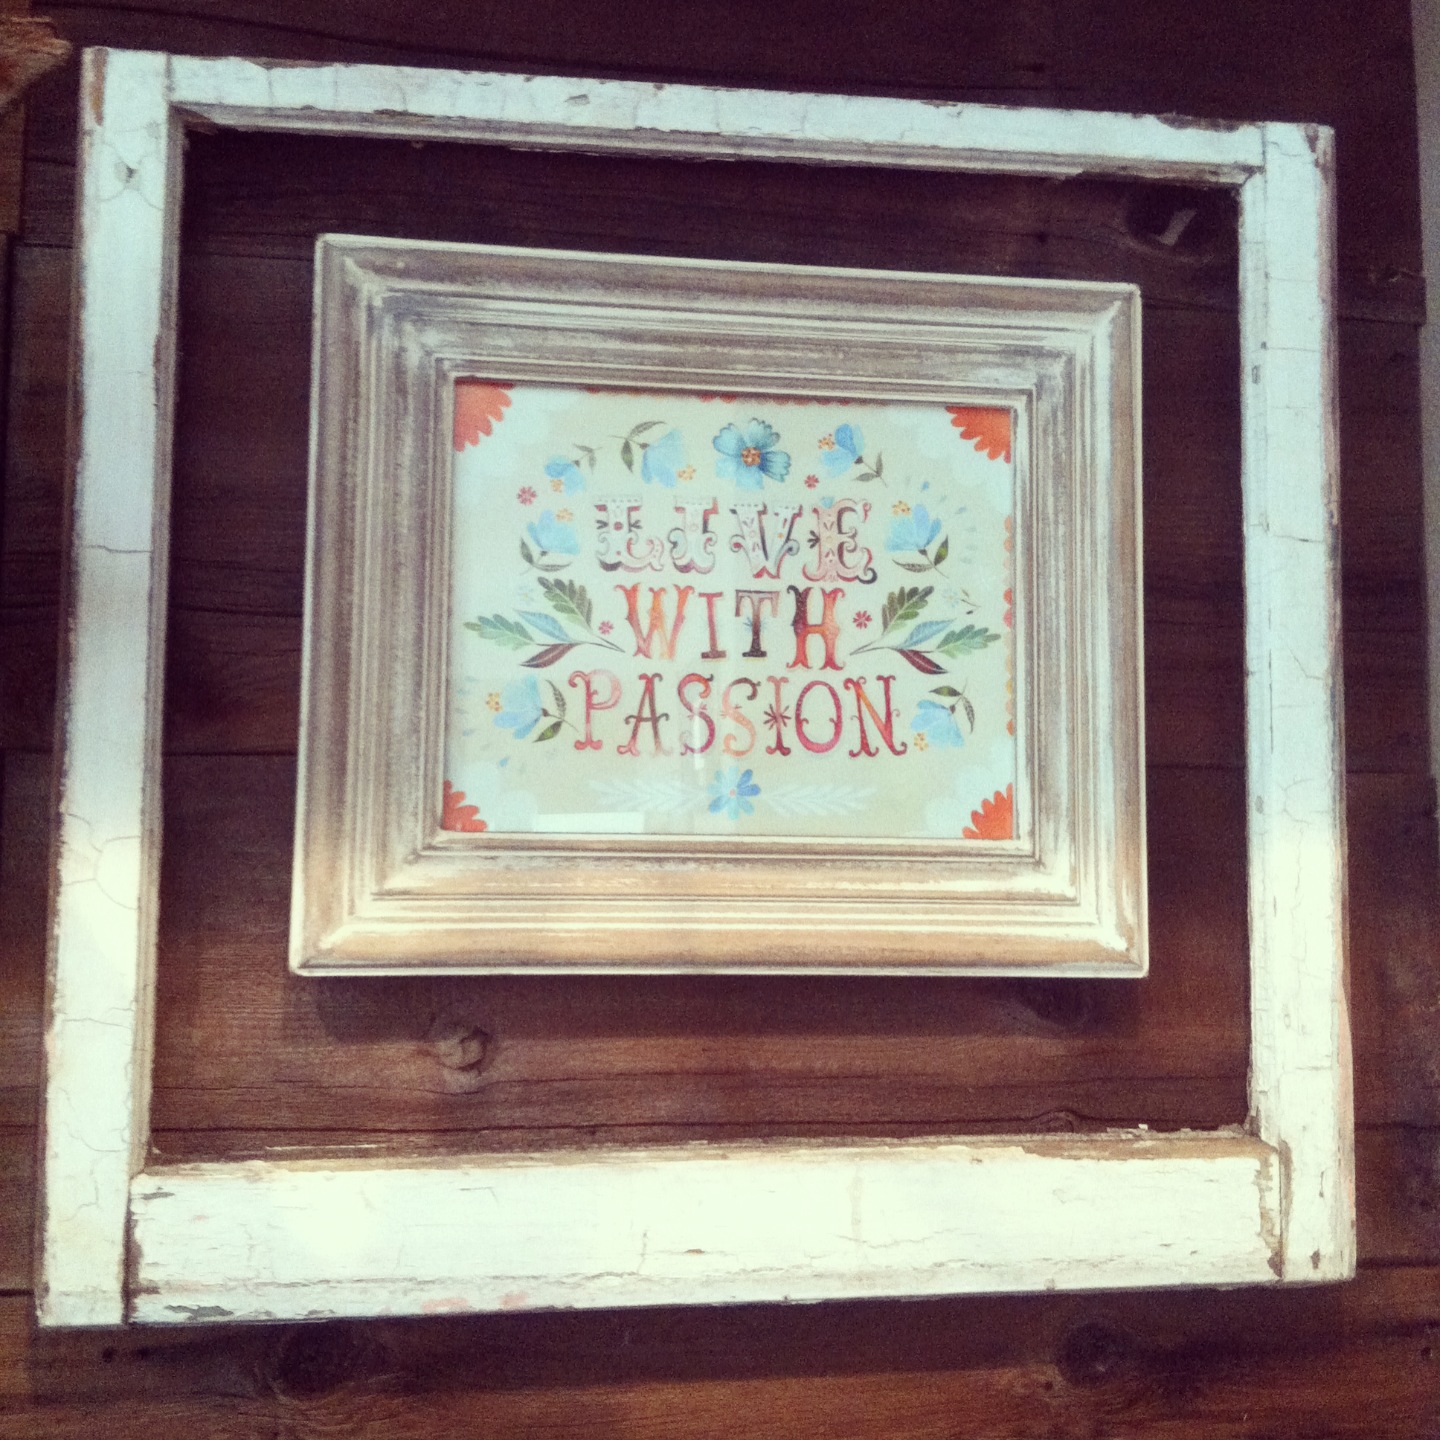
I bought a mirror, this window, a little blue glass bottle, and two little trinkets that I let the kids choose for being good. It was $12!!!!! Total!! I've been looking for windows in antique stores and they are all $25 and up. I was so excited! I would have paid $12 just for the window!

Today I set it up on my new round folding table (estate sale find today for $5!!) and got to painting! I used "Green River" from Laura Ashley for Valspar {Lowes}. My sister in law gave me the swatch after I saw the paint at her house and loved it! To me, it looks totally different on the window than on the swatch, but I knew it would come out right because I thought the same thing at her house.

After two coats dried, I sanded parts of it and the edges to distress it.

I love having the dark wood show through in places!

I used two sawtooth picture hangers to hang it. I like the kind that you don't need nails to hammer them in, they have metal pieces that you hammer in already attached.

I moved the lantern hanger over to the side, and the paint actually looks almost identical in person!


I'm running out of room to decorate! I have started considering using my talents to serve friends that want help re-decorating their house, but haven't quite figured all that out yet. ;)