 She saw on my headboard post that I mentioned I needed to change my old vinyl above my bed. My headboard covered up part of it, and it just didn't fit anymore. See below...
 I browsed around her site trying to decide what to choose from all of her BEAUTIFUL designs! There is an AWESOME feature on her site where you can click on your wall color and click on the stencil color to preview what it would look like on YOUR WALL! How handy is that?! I have honestly looked around other vinyl sites before and given up because they were hard to navigate. The Simple Stencil is AMAZING! I told her I couldn't decide between the Laurel Wreath Monogram and the Vintage Bird Cage. While I was just looking for her opinion, she offered to send me BOTH! After receiving them today here is what I decided...
 I love the classic look of the Laurel Wreath Monogram, and thought it looked fantastic above my new headboard! The directions are simple and clear. Tape it where you want it, level it, center it. flip it up and gently peel away the bottom paper, leaving the vinyl on the transfer tape.
 Smooth it out. I used a plastic scraper.
 Gently peel away the transfer tape. If it sticks to the tape in any places, just gently ease it off with your hand as you peel.
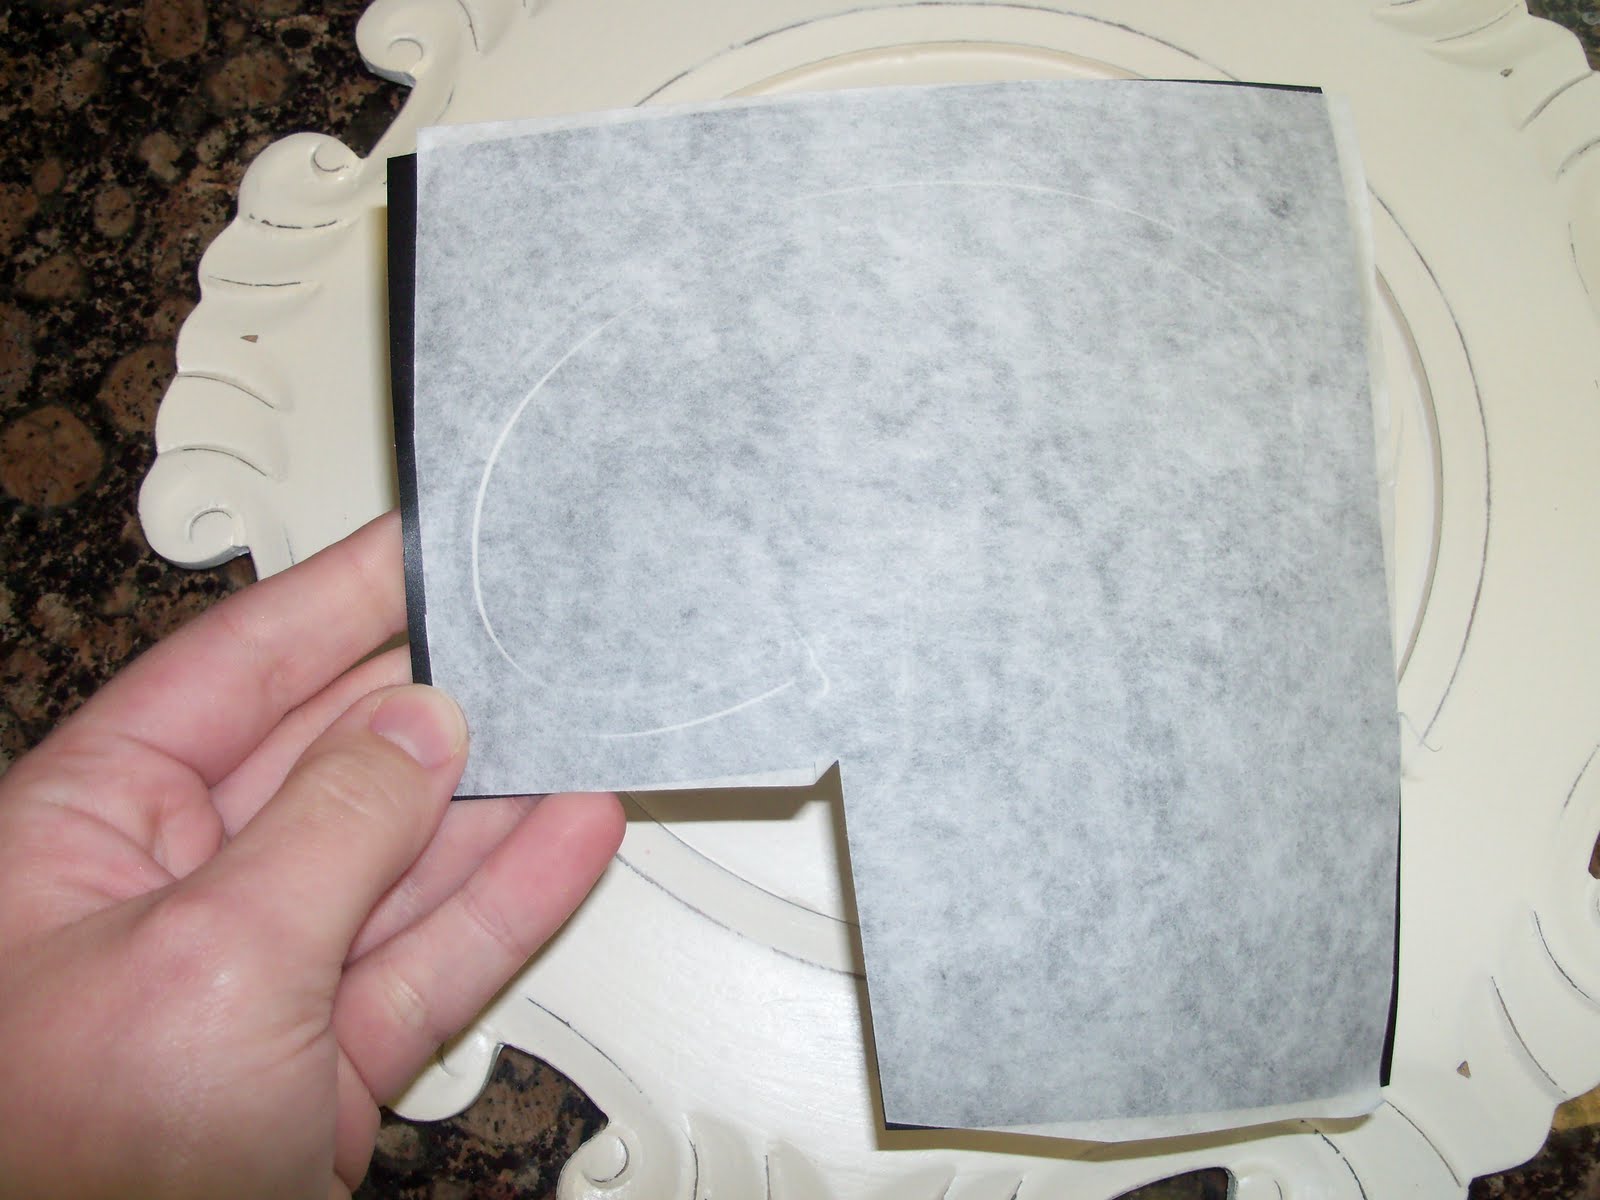
 I found it was easier to rip the transfer tape in half after removing half of it. That wasn't in the directions, but since it was such a HUGE piece, it made it easier to handle for me.
 Since I have textured walls, I pressed the vinyl down with my fingers to get it in the cracks. Since your finger is soft and the scraper is not, it made it easier to get a final "stick" to the wall.
 VOILA! Beautiful Simple Stencil! I love it when I can get an effect like this without paint! You might be surprised to know that I HATE painting and LOATHE Mod Podge!
 Next, it was onto my bird cage! I used the same steps to apply this one.
 I LOVE how they turned out!
 If you're thinking "I could do that on my machine at home" ...think again! This monogram is 30"x22.5"!
 I was surprised to find that there was a THIRD piece in my package! She sent me our last name! So sweet! She told me in one of her emails that she just loves having happy customers...I believe it!! I am still debating where this will go. I am thinking about putting it on my front door.
 Ok....are you ready to enter??? Up for grabs is a $50 Credit to The Simple Stencil!!
Mandatory:
Visit The Simple Stencil website.
Check out the fabulous designs and copy and
paste the url of your favorite design into your comment on this blog post.
Extra Entry:
"Like" Simple Stencils on Facebook
Ok, go enter! What are you waiting for?! ;) I will pick a winner on Friday May 13th!


 I cut out the names on my Sihouette using the LD Dainty font. I bought the bunny at the Silhouette online store for $0.99. It actually came with other bunny shapes as well, but I really liked this one. The flower shapes came with the software. I cut the grass and stems out of green vinyl by hand with an exacto knife.


 I bought my cup at Hobby Lobby yesterday and couldn't wait to cut some vinyl to personalize it. Trish has big red polka dots on hers and it's super cute! I think she used outdoor vinyl. I didn't have any outdoor, so I used regular vinyl and so far it shows no sign of coming off when I wash it by hand.

 I painted the board using the antique white paint my hubster used yesterday on my other projects.


 I didn't notice it was cracked until I got it home and was taking out the picture. So I super glued it and lived with it.


