Showing posts with label cutting edge stencil. Show all posts
Wednesday, April 27, 2011
FINAL Bathroom Changes!
If you read my last bathroom post, you know that I was less than thrilled with the wall decor. I ended up returning the metal knob board to Hobby Lobby.
I've had this mirror in my garage for months, but I didn't know where to put it. I bought it cheap at the Just Between Friends consignment sale. I love the yellow, but it doesn't really match anything in my house. I decided to paint it gray. I put two coats of kilz primer, and two coats of paint. I would love to sand the edges and rough it up a bit, but I'm afraid of exposing the yellow paint.
The other thing I decided to do was add the gray smaller zinnias. I like it MUCH better now. For the smaller stencil I used a foam brush and just dabbed it straight up and down instead of using a roller. I tried it with a roller and didn't get great results on this intricate stencil. The way I did it worked perfectly though! Remember, my stencils are from Cutting Edge Stencils! :)

I have been reading about Washi Tape, and seeing it on etsy and blogs. I decided to order a couple of rolls. It's patterned paper tape.
Here is a close up of the design. This tape is gray so I thought it would be cute to add it to the frame.
This last update I have to do so I can FINALLY be done with the bathroom is to add this metal knob to the mirror. I bought it at Hobby Lobby, it was $4.99 but they were 50% off! ;) It has a long screw on the back and I need the hubs to cut it down with his grinder. I may not be afraid of the saw that could easily cut my hand off, but I am afraid to use the little tool that makes sparks fly!
Friday, April 22, 2011
Master Bathroom
When we moved into our house about 4 years ago, I painted every single wall in the house, except the tiny little toilet area off of our master bathroom. By the time I got to that part of the house I didn't want to look at paint for a LONG time! I left it white and ever since it has been in desperate need of a makeover! Here is a quick "after" pic and then I'll show you the ugly "before" pics. Our sinks and huge, cave-like tile shower are separate from this little area. 
Ok, told ya it was ugly! I've had that picture for probably ten years and it desperately needs to go in the yard sale pile!
I do still love this rustic looking shelf so that will be making a reappearance. The fake flowers...not so much!

Not only did Cutting Edge Stencils give me the Casablanca stencil to make my headboard, but after that, I won a giveaway from a blog that I entered before that! I picked two sizes of the Zinnia stencils.
Clip on your handy dandy level and you're ready to go! You know about sample size paint jars at Lowe's and Home Depot, right? They are my best friend! I have a bunch of different colors and I love that for $3 you can finish small projects with the exact shade you want, without buying a quart or gallon!

Using the same method as the headboard, I stenciled the wall, using the least amount of paint possible. It was a bit trickier this time than the headboard because of our textured walls and the intricate stencil. There was more room for paint to slide under the cracks, so I had to be extra vigilant.
Saturday, April 16, 2011
Cutting Edge Stencils Winner!
Thank you to all who entered the giveaway! We have a winner! The winner of the $40 credit to Cutting Edge Stencils is:
Devi McDonald said... I forgot to tell you that i'm a follower of your blog!! You should follow mine ;)http://www.diddlesanddumplings.blogspot.com April 14, 2011 1:51 PM
Congratulations Devi! I will put you in contact with Kerry from Cutting Edge Stencils! Have FUN picking your prize! You will love it!
Sunday, April 10, 2011
DIY Casablanca Headboard!!!
It's done, it's done!!! I have been working so hard on this project and I couldn't be happier with the way it turned out! Be sure to check out my first post in this tutorial : Casablanca Headboard {Part 1}. In part one I show you how to do the ever-important stenciling of the backboard! It's hard to tell from the photos, but the stencil is in Thunder Gray from Valspar. I used the free sample size I ordered for free online. It also came with a $5 off coupon off a gallon so I used that to buy the white paint..score!
I originally got this idea over here at the Idea Room. Be sure to check it out, it's beautiful!
Ok, so here's what took us a few hours to do today... First, we cut and sanded the 4x4 posts. I laid them down on the garage floor, front side down. I hid any ugly imperfections in the wood in the back.
Next up we laid the stenciled board onto them and made it flush with the posts.
We used Gorilla Wood Glue on each piece of wood before we screwed them.
Tap the post until it's flush with the backboard with a rubber mallet. Screw in about 6 inches or so apart, all the way down the post.

Next, we stood it up and measured our 2x4 to fit on the inside of the 4x4 posts.
Wood glue.
Use a spare block and hammer in the 2x4.
Next up, cut the trim piece and attach the same way. We screwed each board in from the back. When we got to the trim piece we glued it and used longer screws to screw from behind so we wouldn't ruin the finish.
Next up we cut the 2x6, measuring for a 2 inch overhang on each side. We sanded it, and rounded the ends. Glue, then screw.
You have to sink the screws in a little bit and then fill in the holes with wood filler since you would see those holes.
My hubby is such a handy helper. ;)
I covered the backboard with paper and taped along the edges that I couldn't tuck it under.
After it dries, sand off the wood filler till it's smooth with the wood.
Then you paint! {Sportin' one of the hubby's Valley Oak A/C shirts over my new pretty shirt, didn't wanna chance a paint splatter!} ;)
Paint!
And paint some more! Haha
After two coats I was ready to peel off the paper!


Tada!! Now let it get totally dry!!
I LOVE it!!! I can't believe after all these years I finally have a headboard! AND we made it so strong and heavy duty that it will last forever!
I think I might change my old vinyl on the wall now. But at least that will be EASY! ;)
Don't you love it? Ok, so here is the exciting part.... as I said in Part One- Cutting Edge Stencils will be giving away a $40 credit for the lucky winner to pick the stencil they want!! Woo hoo! Thank you! This allover stencil was so big and easy to work with! I was really surprised and if you follow the directions you will love how easy it is too! They have SO many beautiful designs to choose from, the hardest part will be deciding which one to pick!
Here's how to enter:
Mandatory to post ANY comments for entries- become a public follower of The Baeza Blog. It's SO easy...just look for the "follower" section on the sidebar and click "follow". I know I have a LOT more readers on facebook, who don't "officially" follow my blog. The more public followers I have, the better chances I will get more giveaways!
Ok, NOW you're ready to enter!
1 Entry: Check out Cutting Edge Stencils and come back and leave a comment telling me what your favorite stencil is!
1Entry: "Like" Cutting Edge Stencils on Facebook and come back here and leave a comment telling me you did.
1Entry: Leave me a comment telling me you are a follower of The Baeza Blog {new or old!} ;)
The giveaway will end Friday, April 15 at midnight, and I will pick a winner with random.org on Saturday! Good luck!
That's up to 3 entries per person! Woo hoo!
Linking up to Tatertots and Jello's Weekend Wrap Up and Sew Chatty's Made with Love Monday and Domestically Speaking's Power of Paint Party and All Things Heart and Home and Lovely Crafty Home's Lovely Crafty Weekend #16! (sorry gals for some reason it won't let me post the buttons so I'm doing text links)
Monday, April 4, 2011
Casablanca Headboard {Part One!}
I've had some delays in starting my headboard project, but I finally got it underway this weekend! I am SO excited at how it's looking already! If you remember, I was given a free stencil from Cutting Edge Stencils for this project. I started out with a big sheet of 1 inch MDF and had Home Depot cut it down to the size I wanted. {One less thing to do at home!} Next I painted two coats of white paint. I let it dry completely and the next day, started on my stenciling!
Cutting Edge Stencils sends you detailed instructions with your product, complete with pictures! They also tell you what tools you'll need to get the best results possible. For my project they included a clip on level {See it at the bottom of the stencil? So helpful!} and the mini roller I would need.
I leveled my stencil, and used painter's tape to secure it in place. I ordered a free paint sample from Valspar a few weeks ago when they were giving them away! I was able to scrape the sides of the jar clean and complete the whole project with the sample size {which I think is about $3 in store}. This is "thunder gray" in Valspar from Lowe's. It also came with a $5 coupon off a gallon of paint, and a tiny roller and tray. Quite the free deal!
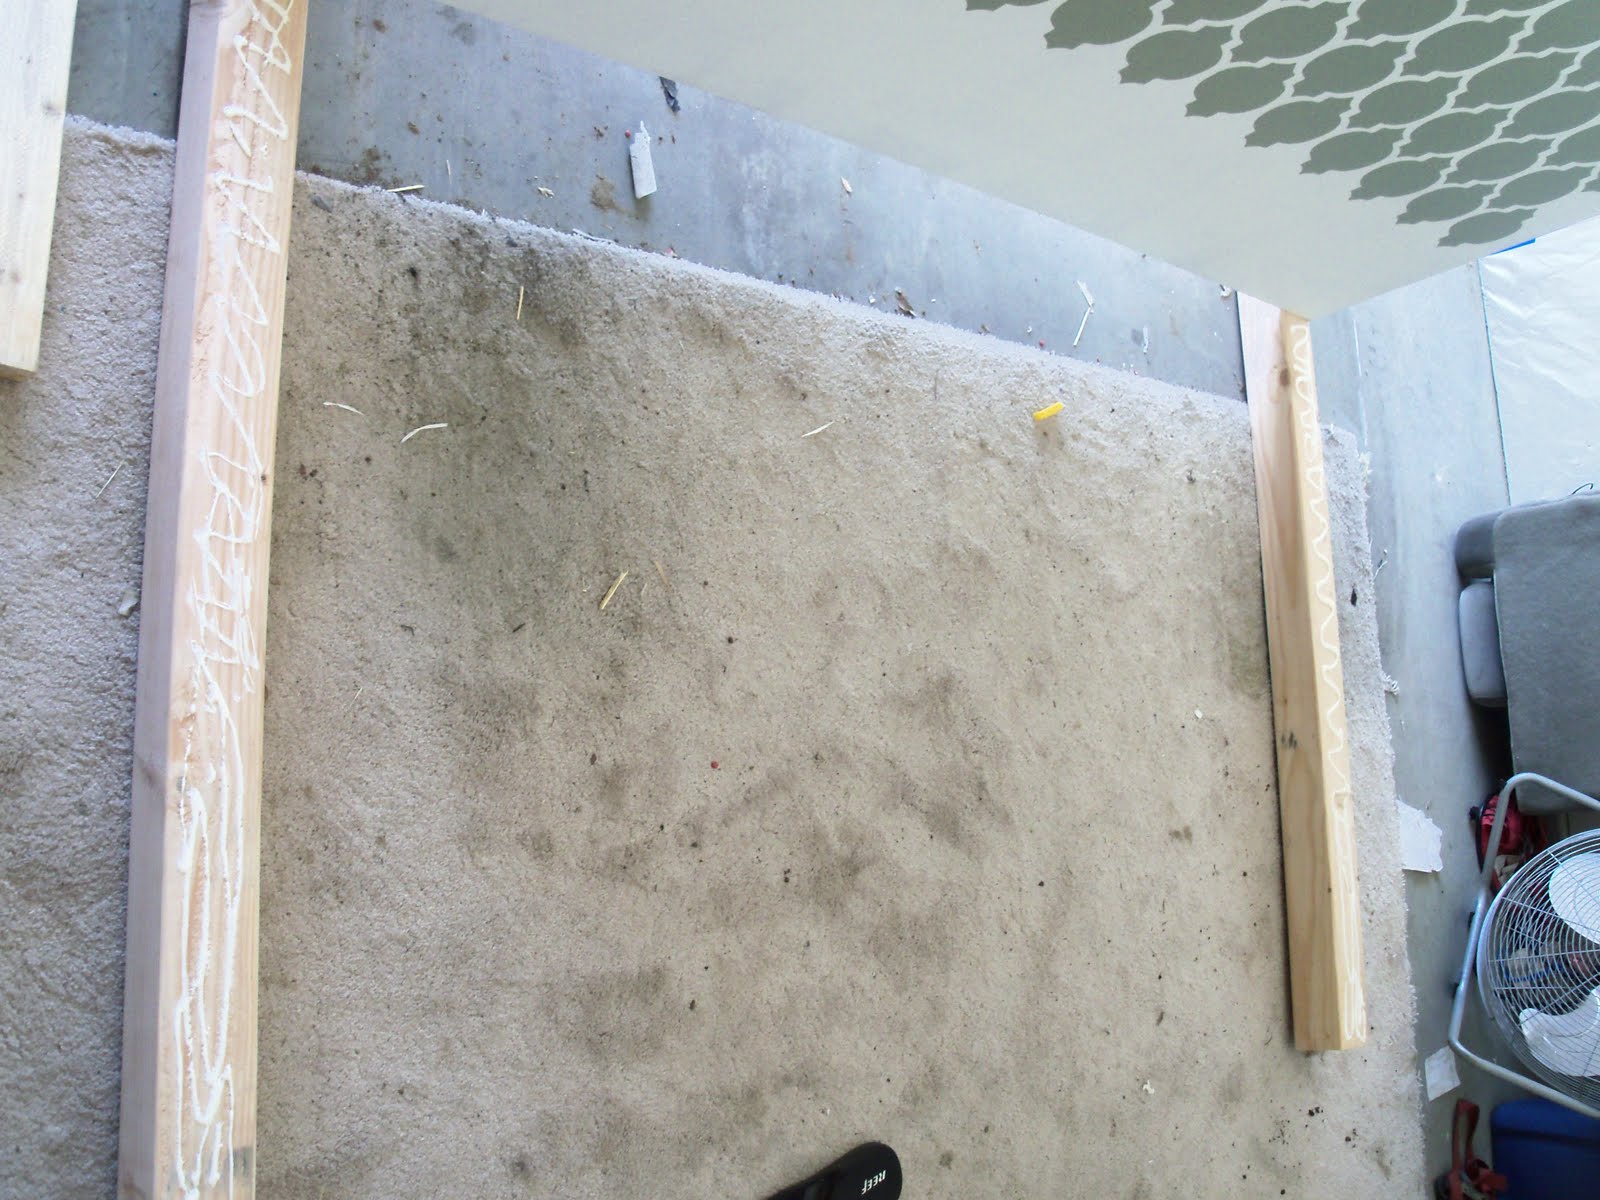
I took a picture about halfway through, but I have completed all of my stenciling now. The next step is to start the framework!
I was amazed at how easy this stencil was to use. I followed the directions, and took to heart when they said "it's better to have not enough paint on your roller than too much" and I had NO BLEED THROUGH under the stencil!! I did two light coats of the gray, and I am LOVING it! Don't forget, that once I'm finished I'll be doing my first giveaway! One lucky reader will win a $40 credit to pick their own stencil from Cutting Edge Stencils!
Subscribe to:
Posts (Atom)